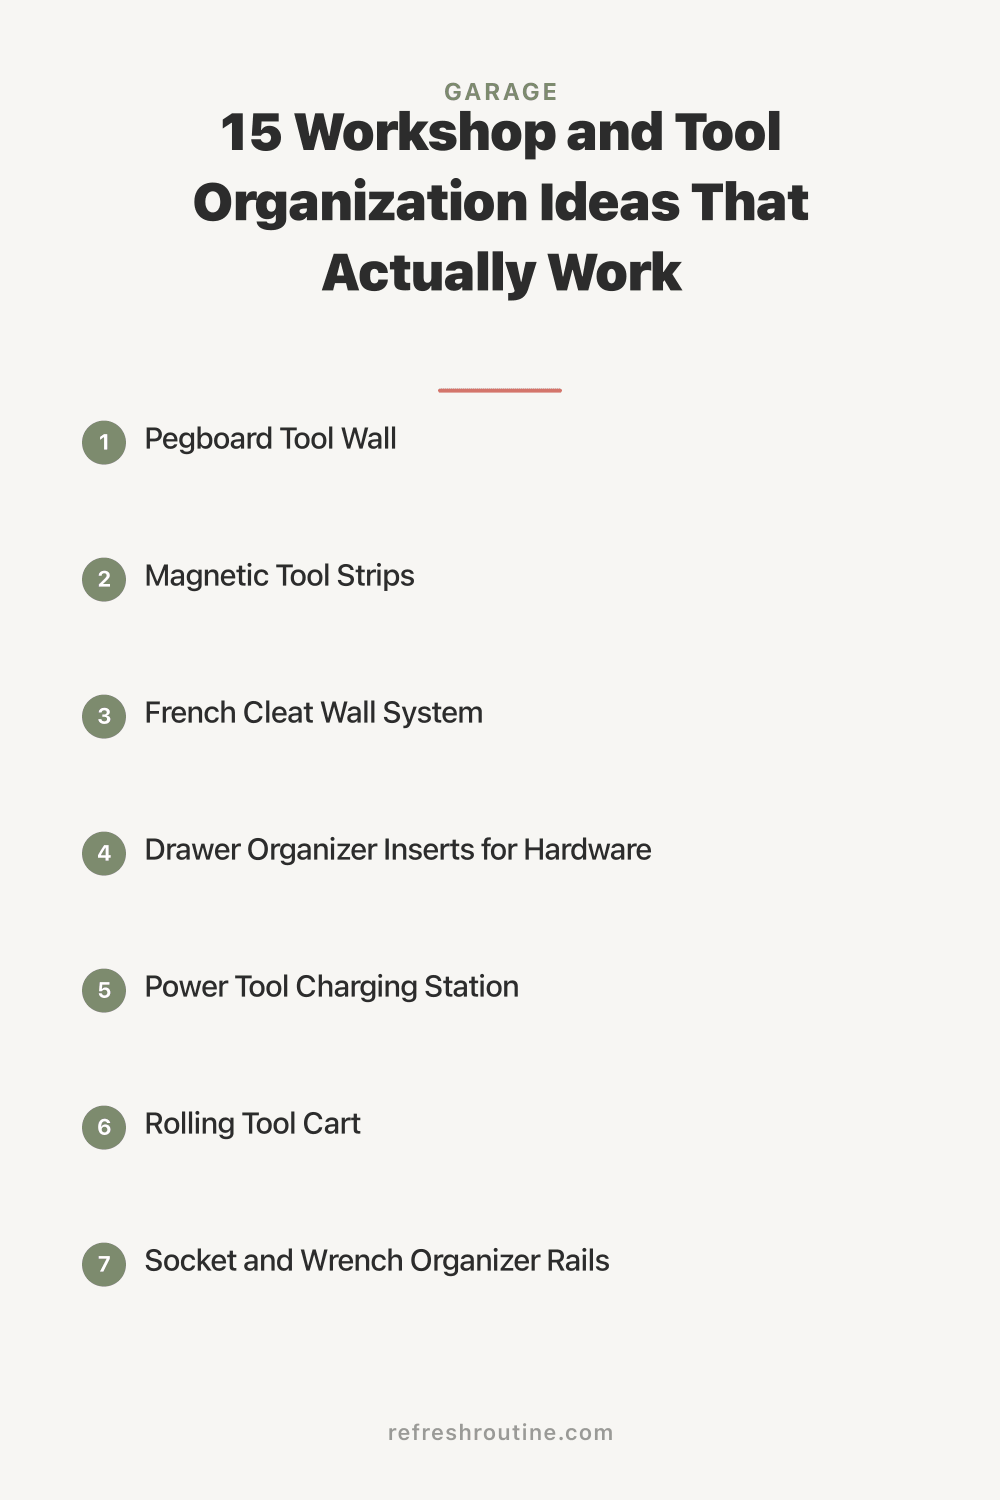
Workshop and Tool Organization Ideas

I used to spend more time looking for the right screwdriver than actually using it. My tools lived in a jumble at the bottom of a plastic bin, tangled with extension cords and random hardware. Finding a 10mm socket? Forget about it. That socket is probably still missing somewhere in the universe.
Good workshop and tool organization transforms a frustrating garage into a space where projects actually get done. After trying probably a dozen different setups over the years, I’ve landed on a system that keeps every tool visible, accessible, and easy to put back. Here are my favorite tool organization ideas, tested and refined in my own garage workshop.
A study published by the Lean Enterprise Institute found that workers in disorganized environments spend up to 30% of their time searching for tools and materials. That same principle applies to home workshops. Better tool organization literally gives you back hours of project time.
1. Pegboard Tool Wall
This is the single best tool organization investment I’ve made. A 4x8 pegboard panel costs about $25, and a hook assortment adds another $15 to $20. Within an afternoon, you can have 40 to 50 tools displayed on a single wall section.
My setup tips:
- Mount the pegboard 3/4 inch off the wall using furring strips so hooks insert properly
- Group tools by type: hammers together, screwdrivers together, pliers together
- Outline each tool with a marker so you can see instantly what’s missing
- Place the most-used tools at eye level and center of the board
The tool outlines might sound excessive, but they’ve been the most helpful part of my system. When my kids borrow a tool and don’t return it, I can see exactly what’s missing at a glance. My project management brain loves that kind of visual tracking.
2. Magnetic Tool Strips
Magnetic strips (sold as knife holders for $10 to $15 each) mount on any wall and hold screwdrivers, pliers, wrenches, and any metal hand tool. I have two 24-inch strips mounted below my pegboard, and they handle the overflow of smaller tools perfectly.
Best for: Screwdrivers, hex keys, metal rulers, chisels, and files.
Cost: $10 to $15 per 24-inch strip.
3. French Cleat Wall System
A French cleat system uses interlocking angled boards to create a modular wall where you can hang shelves, bins, and tool holders anywhere. The beauty is that everything slides on and off, so you can rearrange your entire workshop in minutes.
I built my French cleat wall from a single sheet of 3/4-inch plywood ripped into 3-inch strips at a 45-degree angle. Total cost was about $35 for the plywood and screws.
Best for: Workshops that evolve over time. You can add holders, shelves, and bins without drilling new holes.
What Size Workbench Do I Need for a Home Workshop?
A standard home workshop workbench should be 24 to 30 inches deep and 48 to 72 inches long. The ideal height is between 34 and 36 inches, roughly the same height as a kitchen counter. For most garage workshops, a 24x60 inch bench provides enough workspace for typical home projects without consuming too much floor space. If your garage is tight on space, consider a fold-down wall-mounted bench that stores flat when not in use.
I built my workbench at 36 inches tall because I’m 5’9” and that height lets me work without hunching over. My back thanks me after every project.
4. Drawer Organizer Inserts for Hardware
Loose screws, nails, and bolts are the worst organizational offenders in any workshop. I tried coffee cans, mason jars, and magnetic trays before finding the solution that actually works: compartment drawer organizers.
A set of small-parts organizer drawers costs about $20 to $40 for a 30 to 44 drawer unit. I label each drawer with the size and type of fastener inside. No more dumping out a jar of mixed screws to find the right one.
My labeling system:
- Row 1: Wood screws by length
- Row 2: Machine screws and bolts by size
- Row 3: Nails, brads, and staples
- Row 4: Specialty hardware (anchors, picture hangers, furniture connectors)
5. Power Tool Charging Station
I have a cordless drill, circular saw, jigsaw, and impact driver. Their chargers used to be scattered across three different outlets, buried behind other items. I built a simple charging station on one shelf that changed everything.
How to build one:
- Mount a power strip to the underside of a shelf
- Place chargers on the shelf above, one per slot
- Add a small lip to the front edge of the shelf so tools don’t slide off
- Label each spot with the tool name
Cost: $15 for the power strip and scrap wood.
Everything charges in one spot, and I always know where to find a fully charged battery. This small change saved me more frustration than I expected.
6. Rolling Tool Cart
A rolling tool cart ($40 to $100) is perfect if you work on projects in different parts of the garage or yard. I load mine with the tools I need for a specific project, roll it to the work area, and roll it back when I’m done.
Best for: Automotive work, outdoor projects, and anyone who doesn’t have a fixed workbench location.
I keep a three-drawer rolling cart tucked under my workbench. It holds my most-used hand tools and rolls out whenever I need to work near the cars or in the driveway. For a broader look at garage organization on a tight budget, check out our budget garage organization guide.
7. Ceiling-Mounted Overhead Storage for Seasonal Tools
Seasonal tools like snow shovels, leaf blowers, and garden sprayers don’t need to be accessible year-round. Mount hooks or a simple rack on the ceiling joists to store them overhead when they’re out of season.
I have four large ceiling hooks that hold my leaf blower, snow shovel, and two lawn chairs during their off-seasons. This freed up about 6 square feet of floor space, which is significant in a two-car garage. Our seasonal item storage guide goes deeper on this strategy.
8. Socket and Wrench Organizer Rails
Socket sets are notorious for losing pieces. Those flimsy plastic cases they come in never last. I switched to magnetic socket organizer rails mounted on my pegboard, and I haven’t lost a socket since.
Options:
- Magnetic rails ($10 to $20): Hold sockets in a line on the wall
- Socket clips ($5 to $10): Snap onto pegboard hooks
- Drawer-mount trays ($15 to $25): Organized by size in a drawer
9. Cord and Hose Management
Extension cords, air hoses, and rope turn into tangled nightmares without proper storage. Here’s what works:
- Velcro cord wraps ($5 for a 10-pack): Wrap each cord individually before storing
- Wall-mounted cord reels ($15 to $30): Spring-loaded reels for extension cords
- 5-gallon bucket method (free): Coil a hose inside a bucket mounted to the wall
I use the bucket method for my garden hose and Velcro wraps for extension cords. The combination of both costs under $10 and ended the tangle problem completely.
How Should I Organize Power Tools in a Garage?
Store power tools on a dedicated shelf at waist height, with blade guards on and batteries removed. Keep each tool’s accessories (extra blades, bits, and chargers) in a labeled bin next to the tool. Corded tools benefit from cord wraps to prevent tangles. For the safest storage, position power tools away from moisture and keep them covered with a cloth to prevent dust buildup.
According to the Consumer Product Safety Commission, proper tool storage reduces the risk of accidental injuries at home. Blade guards and secure placement aren’t just organizational preferences. They’re safety essentials, especially in homes with children.
10. Labeled Zones for Project Stages
This idea comes from my project management background, and it works surprisingly well in a home workshop. I created three zones on my workbench area:
- Active project zone: Currently in-progress work and related tools
- Staging zone: Materials and hardware gathered for the next project
- Return zone: Tools that need to be cleaned and put back after use
The return zone was my breakthrough. Instead of putting tools back immediately mid-project (which I never actually did), I toss them in the return zone. At the end of each session, I spend 5 minutes returning everything to its proper place. It’s a small habit that keeps the whole workshop organized.
11. Scrap Wood and Material Storage
Leftover lumber, plywood offcuts, and PVC pieces need a home. I built a simple vertical rack from two 2x4s with horizontal supports that holds scrap wood upright against the wall. Longer pieces lean against the supports, and shorter pieces go in a bin at the base.
Cost: $10 for lumber and screws.
This ended the problem of scrap wood scattered across the garage floor. Everything stands upright, organized by length, and I can grab what I need for small projects without digging.
12. Wall-Mounted Garden Tool Rack
Garden tools deserve their own section, separate from workshop tools. A simple wall rack made from a 2x4 with large hooks handles rakes, shovels, brooms, and hoes. The tools hang with handles up, visible and accessible.
I also added a small shelf below for gardening gloves, trowels, and seed packets. This zone sits near the garage side door so I can grab what I need on the way to the yard.
What I Wish I Knew About Tool Organization
-
Start with the tools you use weekly. I tried to organize everything at once and burned out. Focusing on the 15 to 20 tools I use most made the biggest immediate impact.
-
Vertical storage beats drawer storage for hand tools. I can find a tool on a pegboard in 2 seconds. Finding it in a drawer takes 15 to 20 seconds of rummaging. That adds up over a year of projects.
-
Cheap tools aren’t worth organizing. During my organization overhaul, I found four duplicate tape measures and three sets of Allen wrenches. I donated the extras instead of finding space for them.
-
Lighting matters more than you think. I added a $25 LED shop light above my workbench, and it transformed the space. Good lighting makes your organization visible and your projects easier. The American Lighting Association recommends 50 lumens per square foot for workshop areas.
-
Clean tools before storing them. A quick wipe with a rag and a spray of WD-40 on metal tools prevents rust. I lost a good set of chisels to rust before I learned this lesson.
Key Takeaway
Effective tool organization follows one principle: every tool needs a visible, accessible, and consistent home. Start with a pegboard for hand tools, add drawer organizers for hardware, and create zones for different types of work. The best systems let you see what you have, grab what you need, and put things back without thinking. Even a modest investment of $50 to $100 in organizational tools saves hours of searching and frustration.
Keep Building Your Workshop
For a full comparison of wall systems, shelving, and overhead racks, visit our garage storage systems guide. Our garage hub has everything you need for a complete garage transformation. And if you’re ready to organize beyond the garage, our daily cleaning routine can help you maintain order throughout the house.

Frequently Asked Questions
What is the best way to organize tools in a garage?
The best way to organize tools is by frequency of use. Mount everyday tools on a pegboard at eye level, store power tools on shelves at waist height, and put rarely used specialty tools in labeled drawers or bins. This three-tier system keeps your most-needed tools within arm's reach.
How do I organize a small workshop?
Maximize vertical space in a small workshop with a pegboard wall, magnetic strips, and wall-mounted fold-down workbench. Use the ceiling for overhead storage of seasonal tools. A rolling tool cart saves floor space by tucking under the workbench when not in use. Small workshops benefit most from wall-mounted solutions.
Should I organize tools by type or by project?
Organize tools by type for general workshops and by project for specialized ones. Grouping screwdrivers together, wrenches together, and pliers together makes each tool easy to find. However, if you frequently do specific tasks like plumbing or electrical work, creating project kits saves setup time.