Seasonal Item Storage: Holiday Decor and Sports Equipment
Every December, I used to spend an entire afternoon digging through unlabeled boxes in the garage trying to find our Christmas lights. Were they in the brown box or the other brown box? Or maybe the trash bag that looked like actual trash? One year I accidentally threw out a bag of ornaments my daughter made in preschool. That was the moment I decided seasonal item storage needed a real system.
If your garage is anything like mine was, it’s a jumble of holiday decorations, sports equipment, camping gear, and seasonal tools all competing for the same space. This guide covers exactly how I organized everything so that seasonal items stay protected, accessible, and out of the way until they’re actually needed.
The average American family owns about $2,000 worth of holiday decorations, according to the National Retail Federation. That’s worth protecting with proper storage.
Why Seasonal Items Deserve a Dedicated System
Seasonal items have a unique storage challenge. You use them intensely for a few weeks or months, then they sit untouched for the rest of the year. This means they need to be:
- Protected from dust, moisture, pests, and temperature extremes
- Accessible when the season arrives, without a scavenger hunt
- Out of the way during off-seasons so they don’t consume prime garage space
I learned this distinction the hard way. My everyday tools and seasonal decorations used to share the same shelves. Every time I reached for a screwdriver, I was moving past bins of Easter baskets and pool floats. Separating seasonal items from daily-use items was the first step that made everything else work.
How Should I Organize Holiday Decorations?
Organize holiday decorations by holiday (Christmas, Halloween, Easter, Fourth of July), then by category within each holiday (lights, ornaments, tableware, outdoor decor). Use clear bins with color-coded labels or lids for instant identification. Store the most-used holiday bins on the outside of the stack, with less common holidays behind them. A simple inventory list taped to each bin eliminates guessing.
Here’s my exact system, refined over three years of holiday seasons.
Holiday Decoration Storage: A Complete System
Step 1: Sort by Holiday
Pull all decorations out and sort them into piles by holiday. You’ll probably find duplicates, broken items, and decorations you forgot you owned. I found three sets of Christmas lights that no longer worked and two Halloween spiders missing legs. Those went straight to the trash.
Step 2: Choose the Right Containers
Clear plastic bins are non-negotiable for holiday storage. They’re moisture-resistant, pest-proof, and let you see contents without opening. I standardized on 66-quart bins for most decorations and 18-gallon bins for smaller holiday collections.
Specialized storage to consider:
- Ornament storage boxes ($15 to $25): Compartmented boxes with dividers protect fragile ornaments. I saved about 30 ornaments from breakage by switching to these.
- Wreath storage bags ($8 to $12): Keep wreaths circular and dust-free.
- Light reels ($5 to $10): Wind Christmas lights around a reel instead of tangling them in a bag. This single item saved me 20 minutes of untangling every December.
- Wrapping paper organizer ($10 to $15): Upright tube that holds rolls vertically.
Step 3: Label Everything
I label every bin with three pieces of information:
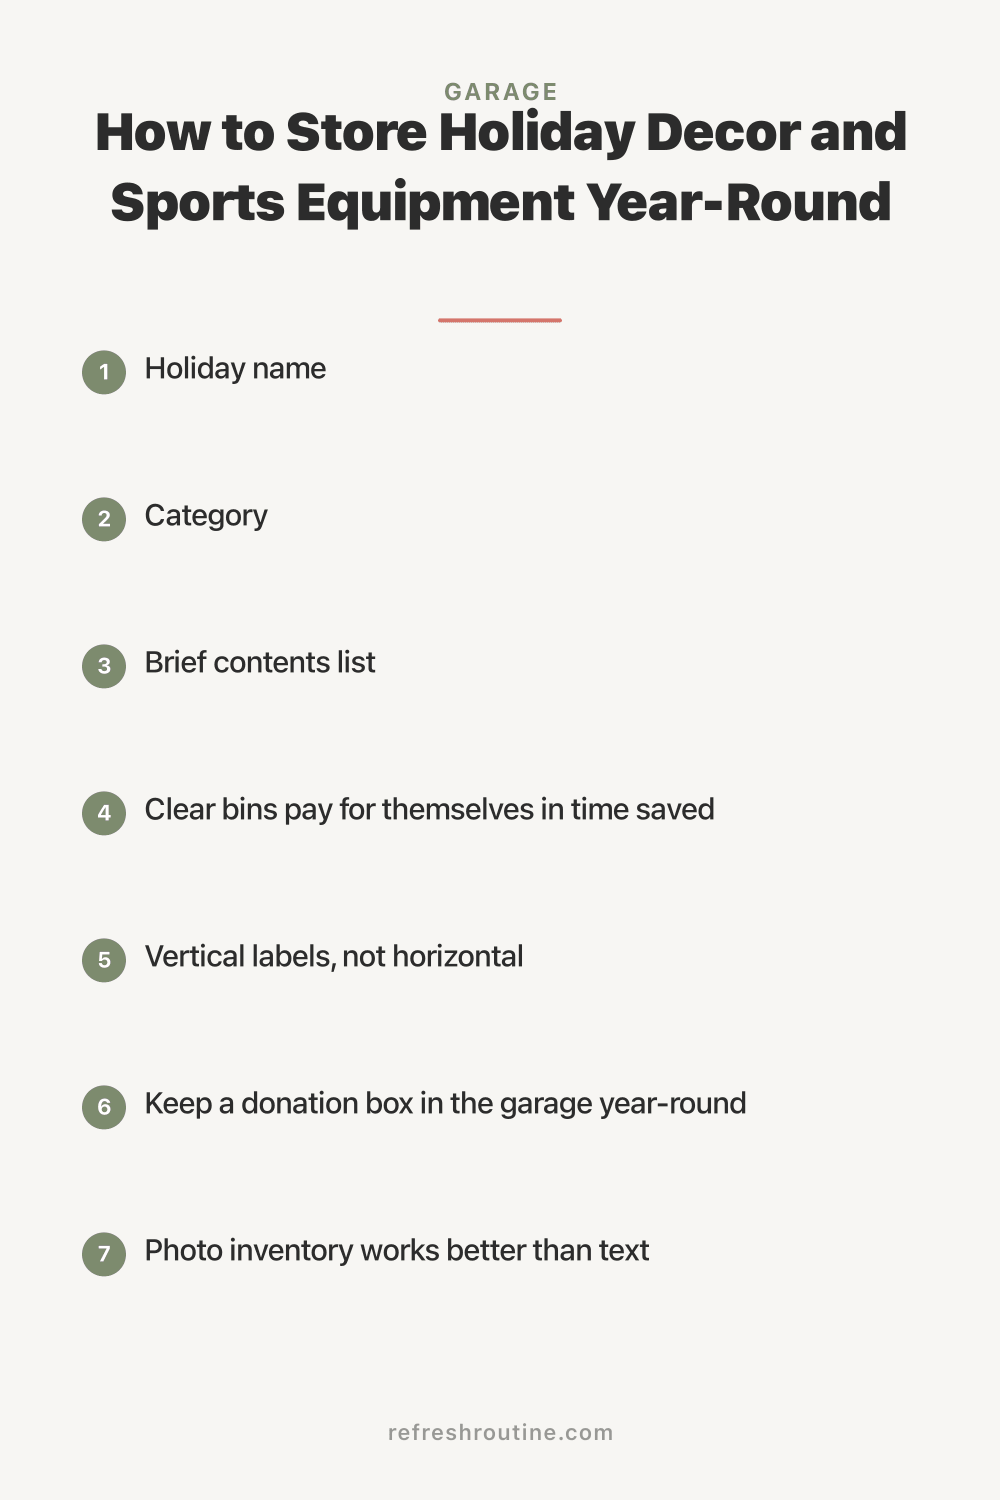
- Holiday name (in large text)
- Category (lights, ornaments, outdoor, tableware)
- Brief contents list (red ball ornaments, mantel garland, stockings)
I use a label maker, but a strip of masking tape and a marker works fine. The key is placing the label on the front of the bin, not the top, since bins on shelves are viewed from the front.
Step 4: Create an Inventory Sheet
I keep a simple spreadsheet listing every bin, its contents, and its location. When December arrives, I can look at my list and pull exactly the bins I need. This sounds like overkill, but it’s saved me at least an hour every holiday season. My project management habits come through again.
According to the National Fire Protection Association, holiday decorations are involved in an estimated 770 home fires per year. Proper storage in sealed, non-flammable containers and regular inspection of lights reduces this risk significantly.
Sports Equipment Storage Solutions
Sports equipment is the other half of the seasonal storage equation, and it’s usually the messier half. Bikes, balls, bats, helmets, skis, and swim gear all have different shapes and storage needs.
Everyday Sports Gear (Used Weekly)
This stuff needs to be easy to grab on the way out the door.
- Bike hooks ($5 to $10 each): Wall-mounted hooks that hold bikes vertically by the front wheel. I have two in my garage, and they save about 12 square feet of floor space.
- Ball corral ($15 to $25, or DIY with bungee cords): A bin or bungee system that holds basketballs, soccer balls, and footballs. I made mine from a laundry basket with bungee cords across the top. Balls stay in but are easy to grab.
- Helmet hooks ($3 to $5 each): Simple hooks near the bike storage for helmets and pads.
- Bat and racket rack ($15 to $20): Wall-mounted holder for baseball bats, tennis rackets, and hockey sticks.
My system has a “grab and go” zone right next to the garage door. Bikes, helmets, and balls are all within 5 feet of the exit. The kids can gear up without asking me to dig through bins.
Seasonal Sports Equipment (Used a Few Months Per Year)
Ski gear, snowboards, swim fins, and camping equipment need different treatment. During their off-season, these items should move to high shelves or overhead storage.
My seasonal rotation process:
- At the end of each season, clean all equipment
- Inspect for damage and repair or replace as needed
- Pack into labeled bins or hang on dedicated hooks
- Move to overhead or high-shelf storage
- At the start of the next season, bring everything down and inspect again
Time estimate: 30 to 45 minutes per seasonal transition.
I do this rotation four times a year, roughly aligned with the school calendar. It’s similar to how I rotate seasonal clothing in my closets, just with sports gear instead of sweaters.
Does Temperature Affect Items Stored in a Garage?
Yes. Garage temperatures can range from below freezing to over 120 degrees Fahrenheit depending on your climate and insulation. Extreme heat damages candles (melting), electronics (battery degradation), and adhesives (labels peeling). Extreme cold can crack plastic, damage latex paint, and ruin liquids that freeze. Sensitive items should be stored in climate-controlled spaces. For typical seasonal storage, use bins rated for temperature variation and avoid storing anything with batteries in extreme heat.
This is something I wish someone had told me before I stored a box of candles in my Texas garage. They melted into one giant waxy blob by August. Anything heat-sensitive now goes in a closet inside the house.
Camping and Outdoor Gear Storage
Camping gear deserves its own subsection because it combines bulky items (tents, sleeping bags) with small items (headlamps, fire starters, cookware).
My Camping Storage System
- Large gear (tent, sleeping bags, camp chairs): Stored in a large mesh bag or stuff sack on an overhead rack. I keep our tent and four sleeping bags in one overhead section.
- Cooking kit: All camp cooking supplies in one 18-gallon bin. Stove, fuel, pots, utensils, plates.
- Activity kit: Flashlights, games, fishing tackle in a second bin.
- First aid and essentials: A separate small bin with sunscreen, bug spray, first aid kit, and fire starters.
The kit approach means I can grab three bins and a mesh bag, load the car, and we’re ready for a camping trip in 15 minutes. Before this system, packing for camping took two hours of hunting through the garage.
Protecting Stored Items from Damage
Moisture Prevention
- Use plastic bins with sealed lids, never cardboard
- Add silica gel packets (2 to 3 per bin) in humid climates
- Keep bins off the garage floor on shelves or elevated surfaces
- Check for roof leaks above storage areas seasonally
Pest Prevention
- Never store food items in the garage (birdseed, pet food, snacks)
- Seal all bins tightly
- Keep the garage floor swept and free of debris
- Check bins annually for signs of rodent activity
According to the National Pest Management Association, rodents enter an estimated 21 million homes in the United States each fall seeking shelter. Garages are a primary entry point. Sealed plastic bins and clean floors are your best defense.
UV and Heat Protection
- Store bins away from direct sunlight through garage windows
- Keep heat-sensitive items (candles, adhesives, batteries) indoors
- Use opaque bins for items that degrade in light (fabrics, papers)
Inventory and Rotation Schedule
Here’s the simple calendar I follow for seasonal item rotation:
January: Put away holiday decorations. Clean and inspect before storing.
March/April: Bring out spring sports equipment and gardening tools. Store winter gear (shovels, ice melt, snow boots).
June: Bring out summer gear (pool supplies, camping equipment). Store spring sports gear if not used in summer.
September/October: Store summer gear. Bring out fall and winter sports equipment. Start pulling Halloween decorations.
November: Bring out holiday decorations. Inspect lights before hanging.
This rotation takes about an hour four times a year. It’s a small investment that prevents the garage from becoming a chaotic dumping ground.
What I Wish I Knew About Seasonal Storage
-
Clear bins pay for themselves in time saved. I spent $60 replacing my cardboard boxes with clear bins, and I’ve saved at least 3 hours per year not searching through opaque containers. Over five years, that’s 15 hours.
-
Vertical labels, not horizontal. When bins are stacked, you see the front face. Labels on the top are useless once another bin sits on top.
-
Keep a donation box in the garage year-round. Every time I pull out seasonal items, I evaluate whether we still use everything. Having a donation box right there makes it easy to let things go.
-
Photo inventory works better than text. I started taking a photo of the contents of each bin before closing the lid and taping the printed photo to the front. It takes 30 seconds per bin and eliminates all guessing.
-
Don’t over-separate. My first system had too many small bins. I combined related items (all Christmas lights in one bin, all Christmas ornaments in another) and went from 18 bins to 11. Fewer bins means faster access. Our decluttering guide covers this simplification mindset in detail.
Key Takeaway
Seasonal item storage comes down to three principles: protect items in sealed bins, organize by holiday or sport, and store off-season items high while keeping in-season gear accessible. A clear labeling system and simple inventory list eliminate the annual scavenger hunt. Invest in clear bins, create zones, and rotate items four times per year to keep your garage functional all year long.
Build a Complete Garage System
Seasonal storage is one piece of the puzzle. Visit our garage organization hub for a complete guide to transforming your space. Our garage storage systems roundup compares shelving, pegboards, and overhead racks to help you choose the right setup. And check out our pantry organization guide to apply the same seasonal rotation principles to your food storage.

Frequently Asked Questions
How should I store holiday decorations in the garage?
Store holiday decorations in clear plastic bins with tight-fitting lids to protect against dust, moisture, and pests. Wrap fragile ornaments in tissue paper or egg cartons. Label each bin by holiday and contents. Store bins on overhead racks or high shelves since they're only accessed once or twice per year.
What is the best way to store sports equipment in a garage?
Use wall-mounted hooks and racks for frequently used sports gear like bikes, helmets, and bats. Store balls in a bungee cord corral or mesh bin near the garage door for easy access. Seasonal equipment like ski gear should go on high shelves or overhead storage during the off-season.
How do I protect stored items from moisture and pests?
Use airtight plastic bins instead of cardboard boxes, which attract pests and absorb moisture. Add silica gel packets to bins in humid climates. Keep bins elevated off the garage floor on shelves or pallets. Avoid storing food, birdseed, or pet food in the garage, as these attract rodents.