How to Organize Kitchen Drawers: Utensils, Junk Drawer, and More
I opened my utensil drawer last year to grab a spatula and instead pulled out a melon baller, a broken whisk, and a mystery gadget I think was for pitting cherries. The drawer was so packed that I could barely close it, and finding anything required digging through a tangled mess of metal and silicone.
Sound familiar? Kitchen drawer organization is one of those tasks that feels small but makes an outsized difference in your daily cooking routine. When every drawer has a purpose and every item has a spot, cooking becomes faster and cleanup becomes simpler. According to a study from the National Association of Professional Organizers, Americans spend an average of 2.5 days per year looking for lost items. In my experience, a good chunk of that time is spent rummaging through messy kitchen drawers.
If you are working through a larger kitchen overhaul, our kitchen organization hub covers all the major zones. But if you want a quick win, drawers are the perfect place to start because each one takes only 15 to 20 minutes.
How Many Kitchen Drawers Do You Actually Need?
Most kitchens have between 4 and 8 drawers, and that is plenty if each drawer is assigned a clear purpose. The key is to designate each drawer by category rather than shoving items wherever they fit. A typical setup includes one drawer for cooking utensils, one for serving utensils and gadgets, one for kitchen linens, and one “junk” drawer for miscellaneous items. The average American kitchen contains over 300,000 individual items according to the Los Angeles Times, and drawers collect more than their share of that total.
Step 1: Empty and Declutter Every Drawer
Start with one drawer at a time. Pull everything out and spread it on the counter. Sort items into three groups:
- Keep: Items you have used in the last 3 months
- Relocate: Items that belong in a different drawer or spot
- Remove: Broken tools, duplicates, and gadgets you never use
My rule of thumb: If I own more than two of something (two spatulas, two can openers), one goes. The only exception is items I genuinely use in pairs, like tongs.
When I decluttered my utensil drawer, I removed 11 items. I had three wooden spoons (kept two), two vegetable peelers (kept one), a garlic press I never used because I prefer mincing with a knife, and five random skewers that migrated from the grill supplies. The drawer went from impossible to close to having actual breathing room.
Step 2: Assign Each Drawer a Category
Before putting anything back, decide what each drawer will hold. Here is a system that works for most kitchens:
Drawer 1: Cooking utensils
- Spatulas, wooden spoons, tongs, whisks, ladles
- Items you reach for while standing at the stove
Drawer 2: Prep tools and gadgets
- Vegetable peeler, can opener, measuring cups and spoons, kitchen shears
- Items you use during meal prep
Drawer 3: Serving and entertaining
- Serving spoons, cheese knives, bottle openers, extra napkins
- Items used when the meal is ready
Drawer 4: Kitchen linens
- Dish towels, pot holders, oven mitts
- Roll towels instead of folding to see everything at once
Drawer 5: The junk drawer (yes, you can keep it)
- Batteries, tape, pens, takeout menus, small tools
- More on organizing this one below
Place drawers closest to where you use the items. My cooking utensils live in the drawer right next to the stove. My prep tools are near my main countertop workspace. This feels obvious, but I spent years with these drawers in the wrong spots simply because that is where the previous homeowner kept things.
What Is the Best Way to Organize a Junk Drawer?
The best approach is to empty the junk drawer completely, remove anything that belongs elsewhere, and divide the remaining items into small containers or a segmented tray. A junk drawer works well when it has clear sections: one for pens and notepads, one for batteries and small tools, one for rubber bands and clips, and one for miscellaneous items. Limit the junk drawer to one drawer only. If overflow items don’t fit, they need a different home. I reorganize my junk drawer every two months, and the whole process takes about 10 minutes.
Step 3: Choose the Right Dividers
The right utensil drawer organizer makes the difference between a system that lasts and one that falls apart in a week. Here are the main options:
Expandable bamboo organizers ($15-25)
- Adjust to fit most standard drawer widths
- Look clean and last for years
- My top recommendation for utensil drawers
Spring-loaded drawer dividers ($8-12 for a set)
- Press into place without screws or adhesive
- Great for deep drawers and flexible layouts
- I use these in my linen drawer
Mesh or plastic compartment trays ($8-15)
- Fixed compartment sizes
- Work well for junk drawers and small items
- Budget-friendly option
DIY dividers
- Cut cardboard boxes to fit inside drawers
- Use small gift boxes or container lids as dividers
- Free and surprisingly effective for testing a layout before investing
I started with cardboard dividers to test my layout for two weeks. Once I confirmed the arrangement worked, I bought bamboo organizers for my two most-used drawers and kept simple plastic trays for the rest. This phased approach saved me from buying organizers that did not fit my actual habits.
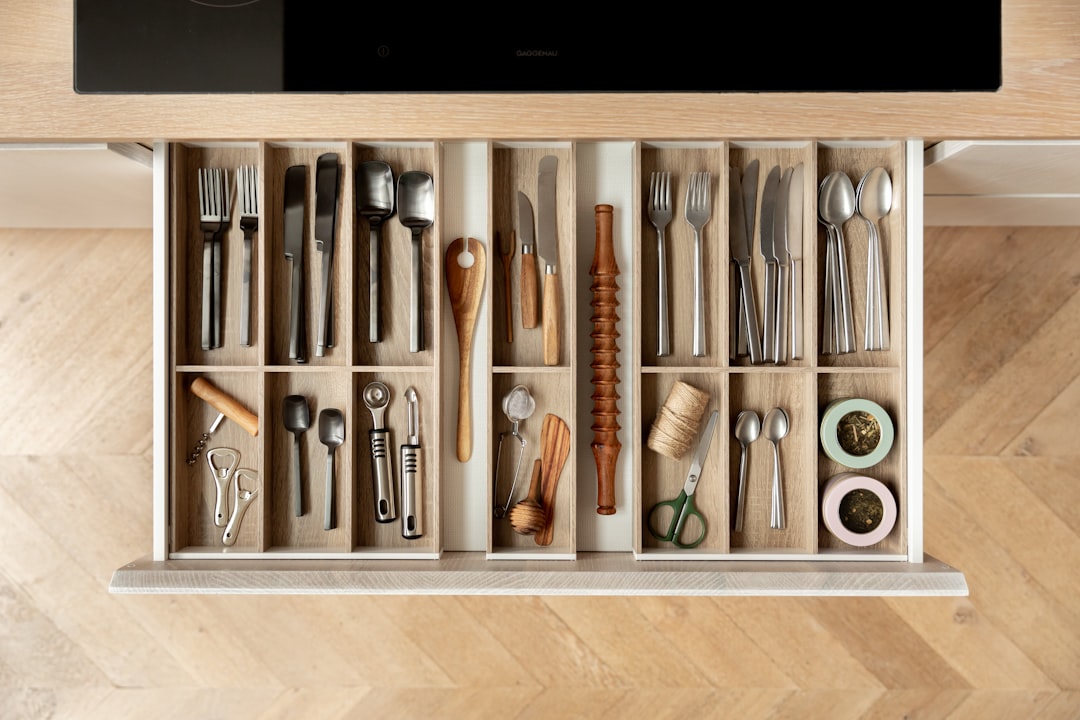
Step 4: Organize the Utensil Drawer
The utensil drawer gets opened more than any other drawer in the kitchen, so it deserves the most attention.
Layout tips:
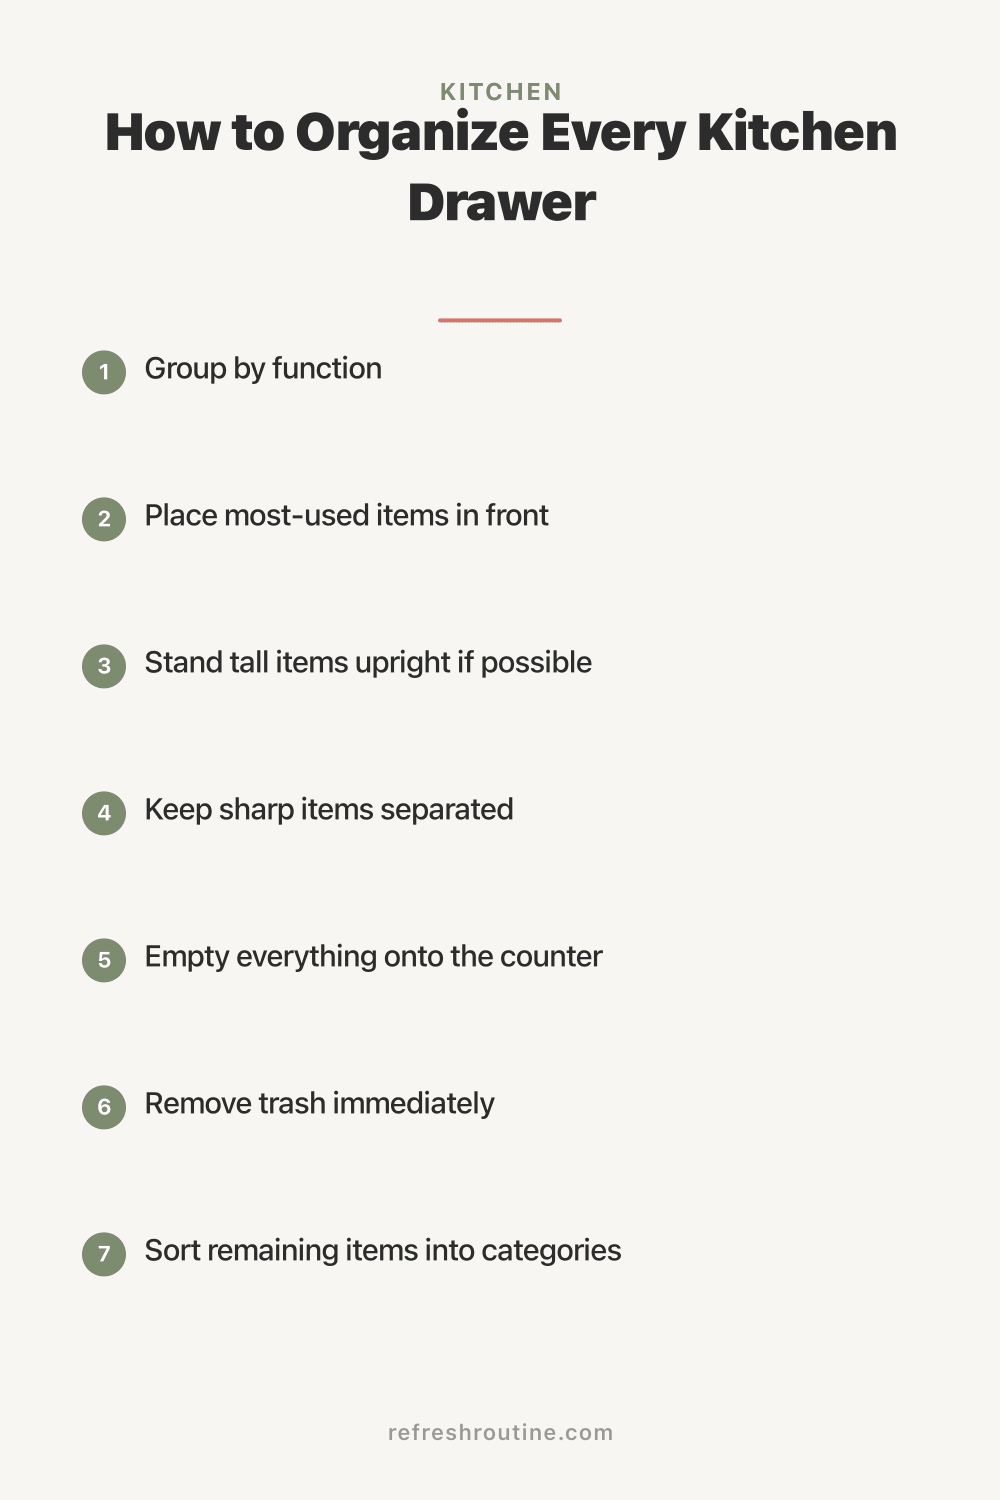
- Group by function: All stirring tools together, all flipping tools together, all cutting tools together
- Place most-used items in front: The spatula and tongs I use daily sit at the front of the drawer
- Stand tall items upright if possible: In deeper drawers, standing items up makes them easier to grab
- Keep sharp items separated: A small section or blade guard for kitchen shears and sharp-edged tools prevents accidents
According to the USDA Food Safety and Inspection Service, safe kitchen practices include keeping sharp utensils properly stored to prevent cuts during routine tasks. I keep my kitchen shears in a small separate compartment with a rubber band holding the blades closed.
Time estimate: 20 minutes for a full utensil drawer organization.
Step 5: Tackle the Junk Drawer
Every home has a junk drawer, and honestly, every home needs one. The problem is not the drawer itself. The problem is when it becomes a dumping ground with no structure.
Here is my junk drawer system:
- Empty everything onto the counter
- Remove trash immediately: Expired coupons, dead pens, random screws, mystery keys
- Sort remaining items into categories: Writing supplies, tools, batteries, miscellaneous
- Use a small compartment tray or recycled containers to create sections
- Set a boundary: If it doesn’t fit in the tray, it doesn’t belong in the junk drawer
What stays in my junk drawer:
- 2 pens, 1 notepad, 1 roll of tape
- Small screwdriver, batteries (AA and AAA only)
- Rubber bands, chip clips, twist ties
- Takeout menus (3 max, the rest go in recycling)
What does not belong in a junk drawer:
- Scissors (they go in the prep tools drawer)
- Phone chargers (bedroom or home office)
- Mail (goes in the desk organization system)
- Anything larger than your hand
I clean out my junk drawer every time I notice items stacking up past the edge of the compartment tray. That visual cue tells me it is time for a 5-minute purge.
Step 6: Organize Deep Drawers
Deep kitchen drawers are both a blessing and a challenge. They hold a lot, but items pile up and smaller things sink to the bottom.
Best uses for deep drawers:
- Pots and pans stored with lids separated (use a lid organizer or file them vertically)
- Baking sheets and cutting boards stored on their sides with a vertical file divider
- Bulk utensils with a two-tier organizer so the top tier holds daily items and the bottom tier holds occasional items
I converted one deep drawer into a lid-storage drawer using a simple wire file organizer from an office supply store. It cost $10 and keeps all my pot lids upright and visible. Before this, lids were scattered across three cabinets, and I could never find the right one. This small change saved me real frustration during cooking.
Pro Tips for Kitchen Drawer Organization
These are the things I figured out through trial and error that most organization guides skip.
Test your layout before you commit. Use what you have (cardboard, small boxes) for a week before buying organizers. You will likely rearrange things once you see how you actually reach for items while cooking.
Put a non-slip liner under your dividers. A $4 roll of non-slip shelf liner prevents organizers from sliding every time you open the drawer. This single addition makes the entire system feel more solid and permanent.
Leave one compartment empty. In every organized drawer, I keep one small section empty for random items that need a temporary spot. This prevents items from ending up on top of the dividers, which is the first sign of the system breaking down.
The two-week rule: After organizing, any item you reach for and cannot find in its new spot gets moved. Your muscle memory matters more than the “perfect” layout. I moved my tongs twice before they landed in the right compartment. The Princeton Neuroscience Institute published research showing that visual clutter competes for attention and reduces focus. An organized drawer reduces that visual noise every time you open it.
Vertical storage beats flat storage. Whenever possible, store items on their sides rather than stacked flat. This applies to cutting boards, baking sheets, and even dish towels rolled tightly.
Key Takeaway
Kitchen drawer organization starts with emptying everything, removing what you don’t use, and assigning each drawer a single category. Use expandable dividers or simple trays to create sections within each drawer, and place items closest to where you use them. The junk drawer stays, but it gets structure. Deep drawers work best with vertical storage and two-tier organizers. Test your layout with cardboard before investing in permanent organizers, and revisit every couple of months to keep things functional.
Ready to keep going? Our pantry organization guide covers the next big kitchen zone, and our guide to starting your decluttering journey gives you a whole-home framework. For more kitchen projects, visit our kitchen organization hub.

Frequently Asked Questions
How many utensils should you keep in a kitchen drawer?
Keep only the utensils you use at least once a month. Most households function well with 15 to 20 core utensils. Remove duplicates, broken tools, and single-use gadgets you rarely touch. A decluttered utensil drawer is easier to maintain and faster to navigate.
What is the best kitchen drawer organizer?
Expandable bamboo drawer dividers are the most versatile option because they adjust to fit different drawer widths. They typically cost $15 to $25 and create customizable compartments for utensils, gadgets, and small items. Spring-loaded dividers are a great budget alternative.
How do you organize a deep kitchen drawer?
Use stackable two-tier organizers or deep bins to prevent items from piling on top of each other. Place frequently used items on top and rarely used tools on the bottom tier. Deep drawers work especially well for pots, lids, baking sheets stored vertically, or bulk utensils.