How to Declutter When You Don't Know Where to Start
I’ll never forget the Saturday afternoon that changed everything for me. Both kids were napping (a miracle, honestly), and I was standing in my kitchen surrounded by piles of stuff on every counter. I felt so overwhelmed I almost cried.
Instead of tackling the whole kitchen, I opened one drawer. The junk drawer. I spent 15 minutes sorting through it, tossed the broken pens and old batteries, and put everything else in its place. When I closed that drawer, I felt something I hadn’t felt in months. Calm.
If you’re reading this because your home feels like too much right now, I get it. And I want you to know that you don’t need a perfect plan. You just need to start, and this guide will show you exactly how.
Why Starting Is the Hardest Part
When every room feels cluttered, your brain goes into decision fatigue before you even pick up the first item. Research from Princeton University shows that visual clutter competes for your attention and reduces your ability to focus. You see the mountain and forget that it gets moved one stone at a time.
Here’s the secret I learned from years of project management: the first 15 minutes matter more than the next 15 hours. Once you start, momentum takes over.
A study published in the journal Current Psychology found that people who described their homes as cluttered or full of unfinished projects were more likely to feel depressed and fatigued. On the flip side, those who described their homes as restful and restorative had better moods throughout the day. Your environment shapes your mental state more than most of us realize.
What Is the Best Room to Start Decluttering?
The best room to start decluttering is the bathroom. It is the smallest room in most homes, decisions are straightforward (expired products go, duplicates go), and you can finish it in one session of 20 to 30 minutes. That quick win builds confidence and momentum to tackle larger spaces like the kitchen or bedroom.
The 5-Step Method I Use With Every Room
Step 1: Pick One Small Area (Not a Whole Room)
Please don’t start with “the garage” or “my entire closet.” I made that mistake early on and burned out by lunchtime. Instead, pick the smallest, most annoying clutter spot in your home:
- A kitchen junk drawer
- Your nightstand surface
- The bathroom counter
- One shelf in the pantry
- The entryway table
Why small? Because a 15-minute win rewires your brain. You feel the satisfaction of a completed space, and honestly, that feeling is addictive.
I specifically recommend the junk drawer because it forces you to practice every decision you will make in bigger spaces. You have to sort, categorize, toss, and organize, all within a contained area. It is like a dress rehearsal for the rest of your house.
Step 2: Get Three Containers Ready
Before touching anything, grab three bags or boxes and label them:
- Keep. Items you use regularly and love.
- Donate or Sell. Good condition items someone else can use.
- Trash or Recycle. Broken, expired, or unusable items.
This removes the biggest bottleneck, which is deciding what to do with each item in the moment.
I use reusable shopping bags for this step because they are easy to grab, easy to carry, and I always have them on hand. A laundry basket works well for the “Keep” pile since it is sturdy and you can carry it from room to room as you put things away.
Step 3: Touch Each Item Once
Pick up every single item in your chosen area. For each one, ask yourself:
- Have I used this in the last 6 months?
- Would I buy this again today?
- Does it have a specific home in my house?
If you answer “no” to two or more questions, it goes into Donate or Trash. Don’t overthink it. Speed matters more than perfection in this step.
The “would I buy this again today” question is the most powerful one in my experience. It cuts through guilt and obligation instantly. That bread maker your aunt gave you five years ago that you used exactly once? You would not buy it again today. Let it go to someone who will actually use it.
Step 4: Organize What’s Left
Once only the “Keep” items remain, put them back in an organized way:
- Group similar items together
- Place frequently used items at the front
- Use containers or dividers if needed, but don’t buy anything yet. Use what you have
Here is my specific approach: I stand in front of the space and mentally walk through my daily routine. The items I reach for first thing in the morning go front and center. The things I use once a week go further back. This “frequency-based” organizing means the items you actually need are always the easiest to grab.
Step 5: Remove Donate and Trash Immediately
This part is critical, and it’s where I used to fail. Don’t let your Donate box sit in the garage for three months. I’ve been there, and those boxes just become clutter with a label on them. Within 24 hours:
- Drive donations to a local charity drop-off
- Put sellable items on Facebook Marketplace or Poshmark
- Take trash and recycling out
If it stays in your house, it becomes clutter again.
I keep a permanent donation bag in my coat closet. Whenever I come across something I no longer need, it goes straight into that bag. When the bag is full, it goes directly into the car the next morning. No thinking, no planning, no procrastinating. This system has been a game changer for keeping clutter from creeping back in.
How Many Items Should You Declutter Per Day?
Aim to declutter 10 to 15 items per day for sustainable progress. This number is manageable enough that it will not cause decision fatigue, yet consistent enough that you will see visible results within a week. At that pace, you will remove over 100 items from your home in just 10 days without feeling overwhelmed.
The 15-Minute Daily Declutter Routine
Once you’ve completed your first small area, build momentum with this daily habit:
- Set a timer for 15 minutes
- Pick one small area or category
- Use the three-container method
- Stop when the timer rings
- Repeat tomorrow
In just two weeks of 15-minute sessions, you’ll have decluttered 14 spaces in your home. That’s real, visible progress that your family will notice.
According to the National Association of Productivity and Organizing Professionals, the average American home contains over 300,000 items. That number floored me when I first heard it. But it also explains why decluttering feels so overwhelming. You are not failing at keeping your home tidy. You are simply managing an unreasonable volume of stuff. Fifteen minutes a day chips away at that number steadily.
What to Declutter First: Priority Order
If you’re still unsure where to begin, here’s the order I recommend (and it’s the same order most professional organizers suggest):
- Obvious trash. Expired food, broken items, junk mail.
- Duplicates. Extra spatulas, duplicate tools, excess towels.
- Unused gifts. Items you kept out of guilt.
- Clothes you don’t wear. If you haven’t worn it in a year, let it go. Our small closet guide can help you organize what remains.
- Paper clutter. Old magazines, manuals you can find online, receipts you’ll never need.
- Sentimental items. Save these for last when you’ve built your decluttering muscles.
This order is intentional. You start with the easiest emotional decisions (trash is a no-brainer) and work your way toward the harder ones. By the time you reach sentimental items, you will have made hundreds of keep-or-toss decisions already. Your decision-making muscle will be strong, and you will approach those photo albums and keepsake boxes with much more clarity.
Common Mistakes I’ve Made (So You Don’t Have To)
- Buying organizers before decluttering. I once spent $80 on pretty bins only to realize I didn’t need half of them after purging. Declutter first, then see what storage you actually need. Our pantry organization guide covers when and what to buy.
- Trying to do the whole house in a weekend. Burnout leads to quitting. Trust me on this one.
- Keeping “just in case” items. I kept a fondue set for four years “just in case.” We never used it. The cost of storing something “just in case” is higher than replacing it if you ever actually need it.
- Organizing clutter. Putting clutter in pretty bins doesn’t solve the problem. Removing excess does.
- Letting guilt drive decisions. Gifts, inherited items, things you spent good money on. These are the hardest to let go of because guilt makes you feel like you owe the item something. You don’t. The purpose of a gift is the thought behind it, not the physical object. Keeping something you never use does not honor the person who gave it to you.
- Comparing your progress to social media. Those stunning before-and-after photos rarely show the full picture. Most organized homes took months of gradual work, not a single weekend blitz. Go at your own pace and celebrate the small wins.
What I Wish I Knew Before I Started Decluttering
Looking back, there are a few things I really wish someone had told me from the beginning.
Start with what you are ready to let go of, not with what is hardest. I tried to start with my closet because that is what every blog told me to do. But I had so much emotional attachment to my clothes that I ended up keeping almost everything. Starting with the bathroom would have been a much better first step.
Your kids will copy you. When my daughter saw me sorting through the junk drawer, she asked if she could clean out her toy bin. I almost fell over. Kids absorb what they see, and modeling the behavior is more effective than any amount of nagging.
It gets easier every time. The first day, I agonized over a broken blender for ten minutes. By week two, I was making decisions in seconds. Your brain gets faster at the keep-or-toss choice the more you practice.
You will feel lighter, not just in your home but in your head. I did not expect the emotional shift. After the first week, I was sleeping better, feeling less anxious, and actually enjoying being in my house again. The mental clutter lifts right along with the physical clutter.
Do not wait for motivation. Act first, and motivation follows. On most days, I did not feel like decluttering at all. But once I set the timer and picked up the first item, the momentum carried me through. Motivation is not a prerequisite. It is a byproduct.
Does Decluttering Actually Reduce Stress?
Yes. Multiple studies confirm that cluttered environments increase cortisol levels, which is the body’s primary stress hormone. A 2009 study from UCLA’s Center on Everyday Lives and Families found that women who described their homes as cluttered had higher cortisol levels throughout the day compared to women who described their homes as tidy. Decluttering directly reduces the visual stimuli competing for your brain’s attention, which leads to lower stress and better focus.
Key Takeaway
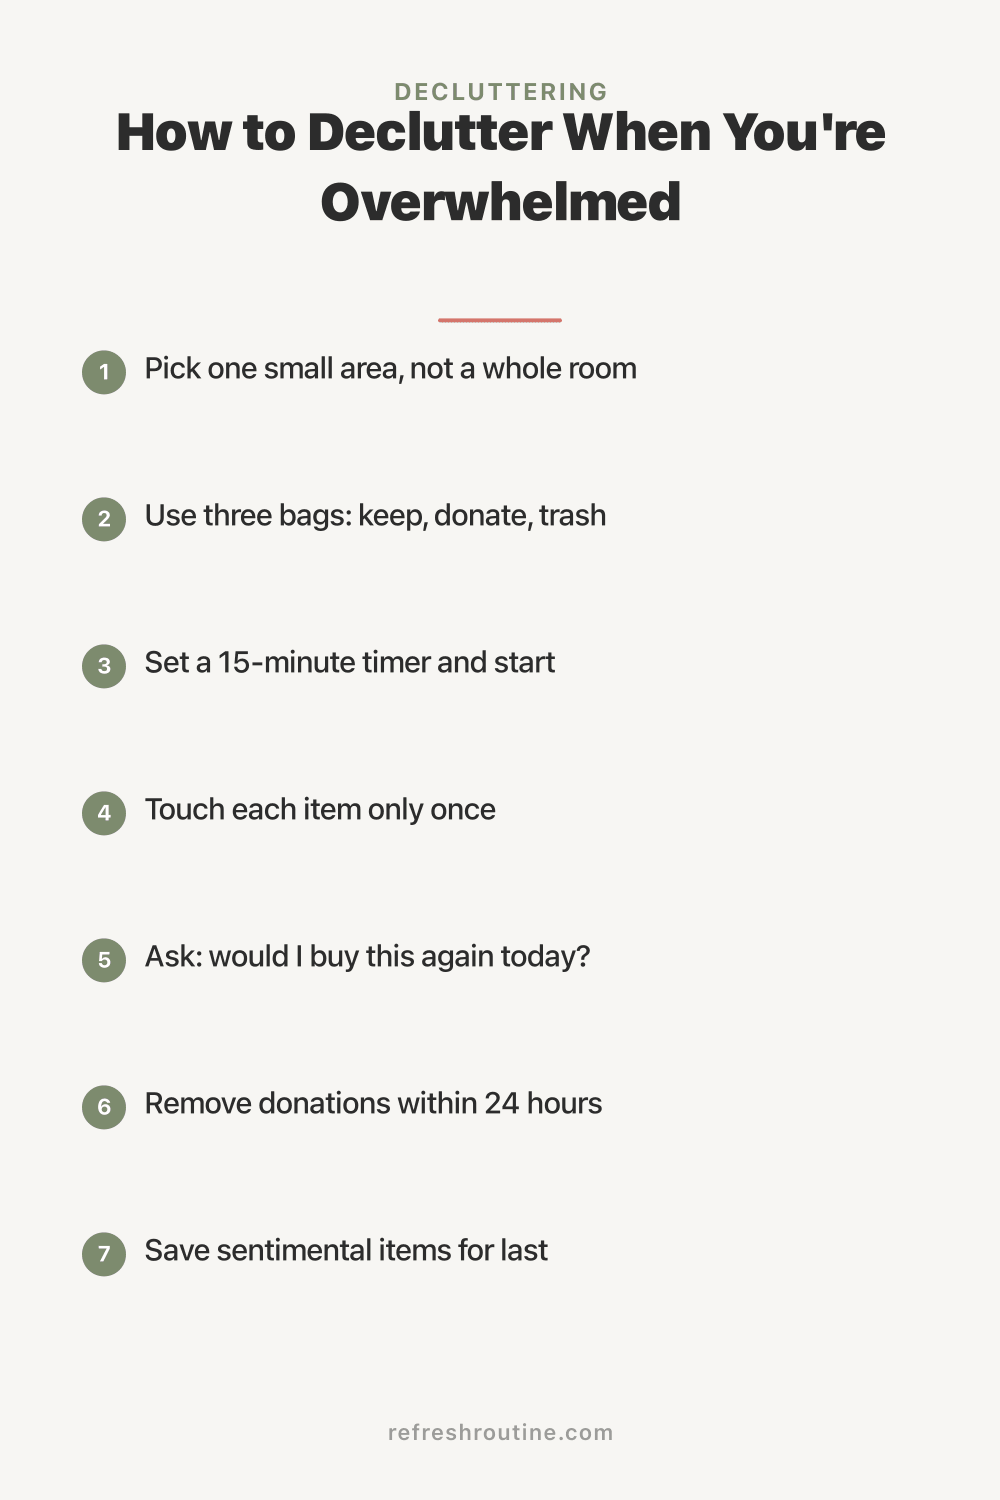
Decluttering does not require a perfect plan, a free weekend, or a burst of motivation. It requires 15 minutes, one small space, and the willingness to start. Pick the easiest, most visible area in your home, use the three-container method, and remove the donate and trash bags within 24 hours. Do that once, and you will want to do it again tomorrow. The hardest part is always the first 15 minutes. Everything after that is momentum.
Your Next Step
You’ve read the guide. Now pick one small area, right now, today, and spend just 15 minutes on it. That’s it. One drawer, one shelf, one surface.
The hardest part isn’t the decluttering. It’s the starting. And you’ve already started by reading this.
For a complete room-by-room plan, check out our Room-by-Room Decluttering Checklist or jump into our 30-Day Declutter Challenge for daily guided tasks.

Frequently Asked Questions
Where should I start decluttering first?
Start with the easiest, most visible area like a kitchen counter, bathroom drawer, or nightstand. Quick wins build momentum and motivation to tackle bigger spaces.
How long does it take to declutter a whole house?
Most homes take 2 to 6 months when decluttering room by room at a sustainable pace. Spending 15 to 30 minutes daily is more effective than marathon sessions.
What should I do with items I declutter?
Sort decluttered items into four categories: donate, sell, recycle, and trash. Most local charities accept household items, and apps like Facebook Marketplace make selling easy.