Refrigerator Organization: Zones, Bins, and Labels

I used to open my refrigerator and find a science experiment growing behind the yogurt. Leftovers from two weeks ago, a bag of spinach slowly liquefying in the back corner, and three nearly identical bottles of salad dressing because I forgot I already had two. My fridge was a graveyard of good intentions and wasted groceries.
That changed when I implemented a zone system with clear bins and labels. It took about an hour to set up, and it has saved my family hundreds of dollars in wasted food over the past two years. If your refrigerator organization feels like a constant battle, this step-by-step system will help you get control of it.
The USDA reports that the average American family wastes $1,500 worth of food annually. A significant portion of that waste comes directly from the refrigerator, where items get buried, forgotten, and eventually tossed. Good fridge organization is not just about aesthetics. It is one of the most effective ways to save money on groceries.
What Is the Best Way to Organize a Refrigerator?
The best method is a zone system where each shelf and drawer has a designated food category. Upper shelves hold ready-to-eat items like leftovers and drinks. Middle shelves store dairy and eggs. The lowest shelf holds raw meats because it is the coldest spot and prevents drips from contaminating other foods. Crisper drawers separate fruits from vegetables, since they have different humidity needs. Clear bins within each zone keep items grouped and visible. Labels on each bin or shelf edge make the system obvious to everyone in the household.
Step 1: Empty and Clean the Entire Fridge
This step is non-negotiable. You cannot organize around existing clutter. Pull everything out and place it on the counter. Work quickly to keep cold items safe. The FDA recommends that perishable foods should not sit at room temperature for more than two hours.
As you empty the fridge, sort everything into three groups:
- Keep: Fresh items within their use-by date that you will eat this week
- Toss: Expired items, leftovers older than 4 days, anything that looks or smells off
- Condiment check: Open every condiment bottle and check dates. Most opened condiments last 1 to 3 months in the fridge
When I did my first full cleanout, I threw away 17 items. Five were expired condiments, three were mystery leftovers in containers I was afraid to open, and the rest were produce that had gone bad in the crisper drawers. It was eye-opening and honestly a little embarrassing.
Time estimate: 20 minutes for the full cleanout including wiping shelves.
While everything is out, wipe down every shelf, drawer, and wall with a solution of warm water and baking soda (2 tablespoons per quart of water). This removes odors and sticky residue without harsh chemicals.
Step 2: Set Up Your Fridge Zones
The zone system is what makes refrigerator organization sustainable. Instead of putting things wherever they fit, you assign each area a category. Here is the setup I use:
Top shelf: Ready-to-eat foods
- Leftovers in clear containers (labeled with the date)
- Drinks, juice, milk
- Deli meats and cheeses
- Hummus, dips, spreads
Middle shelf: Dairy and eggs
- Eggs (keep them in the original carton, not the door)
- Yogurt, butter, cream cheese
- Cheese blocks and sliced cheese
Bottom shelf: Raw proteins
- Raw meat, poultry, and fish
- Place on a tray or plate to catch any drips
- This is the coldest shelf, which keeps proteins safest
Crisper drawer 1 (low humidity): Fruits
- Apples, berries, grapes, citrus
- Items that produce ethylene gas
Crisper drawer 2 (high humidity): Vegetables
- Lettuce, spinach, peppers, broccoli, carrots
- Items sensitive to ethylene gas
Door shelves: Condiments and beverages
- Ketchup, mustard, hot sauce, salad dressings
- Butter (if used within a week)
- Water bottles, small juice containers
Important note: Despite what the built-in egg holder suggests, eggs should not go in the door. The door is the warmest part of the fridge because it is exposed to room temperature every time you open it. Eggs last longer on a middle shelf where the temperature stays consistent. I moved my eggs off the door two years ago and noticed they stayed fresh noticeably longer.
Step 3: Add Clear Bins for Grouping
Clear bins are the single most impactful fridge organization tool. They turn a flat shelf into organized compartments and prevent items from getting pushed to the back.
My bin setup:
- Snack bin: Cheese sticks, yogurt tubes, fruit cups (kids grab from this bin)
- Lunch prep bin: Deli meat, wraps, sliced cheese, pre-cut veggies
- Leftover bin: All leftovers go here, labeled with the date
- Drink bin: Juice boxes, small water bottles
- Condiment bin: Groups small jars and bottles that would otherwise scatter
Cost: A set of 4-6 clear bins runs about $15-25. I bought a set of six for $20, and they have been in daily use for over two years.
The lunch prep bin changed my mornings. Instead of opening the fridge and assembling lunch from five different spots, I pull out one bin, make the sandwiches, and put the bin back. It shaves a few minutes off every morning, which adds up. This same bin approach is what makes our pantry organization system work so well, too.
Does It Matter Where You Store Food in the Fridge?
Yes, food placement directly affects how long items stay fresh and whether your fridge is food-safe. Temperature varies inside the fridge, with the back and bottom being coldest and the door being warmest. The USDA Food Safety and Inspection Service recommends storing raw meat on the lowest shelf to prevent juices from dripping onto other foods. Eggs stay freshest on a middle shelf, not the door. Produce lasts longest in crisper drawers with proper humidity settings. Following these placement rules can extend the life of your groceries by several days and significantly reduce food waste.
Step 4: Label Everything
Labels make the zone system stick, especially when other family members put groceries away. If the bin says “snacks,” the snacks go in the bin. No thinking required.
Labeling options that work in the fridge:
- Clip-on bin labels ($6-8 for a set): Snap onto the edge of clear bins
- Dry-erase labels ($5-10): Write and erase as contents change
- Chalkboard labels ($5-8): Peel-and-stick, write with chalk marker
- Masking tape and marker: Free, functional, and easy to update
I use clip-on labels on my bins and a small dry-erase board on the fridge door where I track items that need to be used soon. When something is close to expiring, I write it on the board. My family checks the board before asking “what’s for dinner?” and often the answer is right there.
Leftover labeling system: Every leftover container gets a small piece of masking tape with the date written on it. I use a simple rule: if it has been in the fridge for more than 3 days, it either gets eaten that night or tossed. This rule eliminated the mystery containers problem completely.
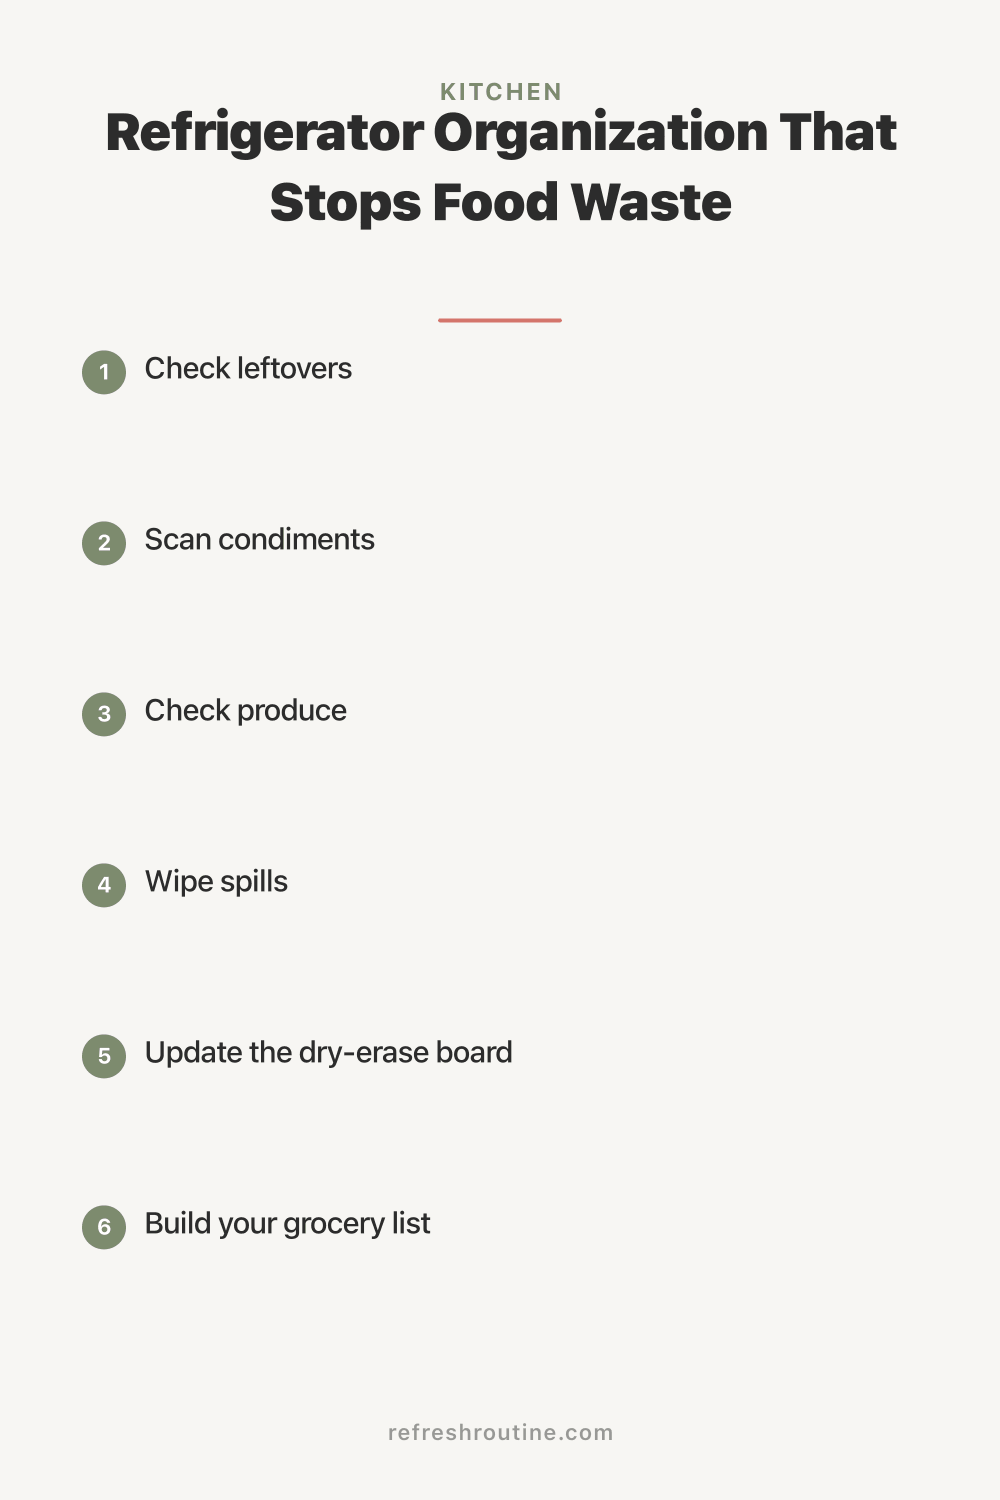
Step 5: The Weekly Fridge Reset
An organized fridge only stays that way with a quick weekly reset. I do mine every Sunday morning before grocery shopping, and it takes about 10 minutes.
Weekly reset checklist:
- Check leftovers: Toss anything older than 3-4 days
- Scan condiments: Move near-empty bottles to the front (use-first zone)
- Check produce: Move wilting items to the “use tonight” section or compost them
- Wipe spills: Quick wipe of any sticky spots on shelves
- Update the dry-erase board: Note items to use this week
- Build your grocery list based on what needs restocking
This 10-minute routine keeps the fridge functional all week and prevents the slow slide back into chaos. It connects well with our daily cleaning routine, which includes a quick kitchen check.
Step 6: Store Produce to Last Longer
Produce is the most commonly wasted food category. Storing it correctly can add days to its freshness.
Fruits and vegetables that should NOT be stored together: Apples, bananas, and tomatoes produce ethylene gas, which accelerates ripening in nearby produce. Keep them separate from ethylene-sensitive items like lettuce, broccoli, and berries.
Produce storage tips:
- Berries: Don’t wash until ready to eat. Store in a single layer on a paper towel in a container
- Leafy greens: Wrap in a paper towel and store in a zip bag with a corner open for airflow
- Herbs: Trim stems and stand upright in a glass of water (like flowers), cover loosely with a bag
- Celery and carrots: Store in water in a sealed container to keep them crisp for weeks
I used to lose about 30% of my produce to spoilage. After learning proper storage methods, that dropped to under 10%. The herb trick alone saves me $3-5 a week because I actually use the entire bunch of cilantro or parsley instead of watching it wilt after three days.
According to the Natural Resources Defense Council, up to 40% of food in the United States goes uneaten, with fruits and vegetables being the most wasted category. Simple storage changes in your refrigerator organization can meaningfully reduce your household’s contribution to this problem.
What I Wish I Knew About Fridge Organization
These insights came from two years of maintaining an organized fridge for a family of four.
Don’t overfill the fridge. Air needs to circulate for even cooling. When my fridge is packed too tightly, the items in the back get too cold and the items near the door don’t stay cold enough. I aim for about 75% full, which gives me enough stock for the week without overcrowding.
Glass containers are worth the investment. I switched from opaque plastic to glass containers with clear lids, and the difference was immediate. I can see exactly what is inside without opening anything, which means leftovers actually get eaten instead of forgotten. A set of 10 glass containers cost me $25 and replaced over 20 mismatched plastic containers.
The “eat first” shelf changes everything. I keep a small section at eye level for items that need to be used in the next day or two. When someone opens the fridge looking for a snack, they see the “eat first” items immediately. This single habit cut our food waste in half.
Your fridge temperature matters more than organization. If your fridge is not set correctly, no amount of bins and labels will keep food fresh. The FDA recommends keeping your refrigerator at or below 40 degrees Fahrenheit. I bought a $5 fridge thermometer and discovered mine was running at 44 degrees, which explained why my produce was wilting so fast.
Key Takeaway
Refrigerator organization works best as a zone system with clear bins and labels. Assign each shelf a food category based on temperature needs and usage patterns: ready-to-eat foods up top, dairy in the middle, raw proteins on the bottom, and produce separated by type in the crisper drawers. Clear bins keep items grouped and visible so nothing gets lost in the back. A weekly 10-minute reset before grocery shopping maintains the system and prevents food waste. The zone approach makes putting groceries away intuitive for everyone in the household.
For more ways to organize your kitchen, visit our kitchen organization hub or check out our room-by-room decluttering checklist to extend these systems throughout your home.

Frequently Asked Questions
How often should you clean and organize your refrigerator?
Do a quick 5-minute fridge check weekly before grocery shopping to toss expired items and wipe spills. A full cleanout with emptying shelves and wiping everything down should happen once a month. This prevents buildup and keeps food fresh longer.
What should go on each shelf of the refrigerator?
Upper shelves hold ready-to-eat foods like leftovers, drinks, and deli items. Middle shelves store dairy, eggs, and cooked foods. Lower shelves keep raw meat and fish on the coldest shelf to prevent cross-contamination. Crisper drawers hold fruits and vegetables separately.
Do refrigerator organizer bins actually help?
Yes. Clear bins group similar items together so nothing gets pushed to the back and forgotten. They make it easy to pull out a category, find what you need, and slide it back. Bins reduce food waste by keeping items visible and accessible at all times.