Room-by-Room Decluttering Checklist (Free Printable)
I know how it feels to stare at your whole house and think, “Where do I even begin?” I’ve been there. The trick is to stop looking at it as one giant project and start thinking of it as a bunch of small, very doable tasks.
This checklist gives you a clear path through every room in your home. Print it out, stick it on your fridge, and check things off as you go. There’s no deadline here. Work at whatever pace fits your life.
According to a survey by the National Association of Professional Organizers, 54% of Americans say they feel overwhelmed by the amount of clutter in their homes. If that sounds like you, you are in good company. The key is breaking that mountain into small, checkable tasks you can finish one at a time.
How to Use This Checklist
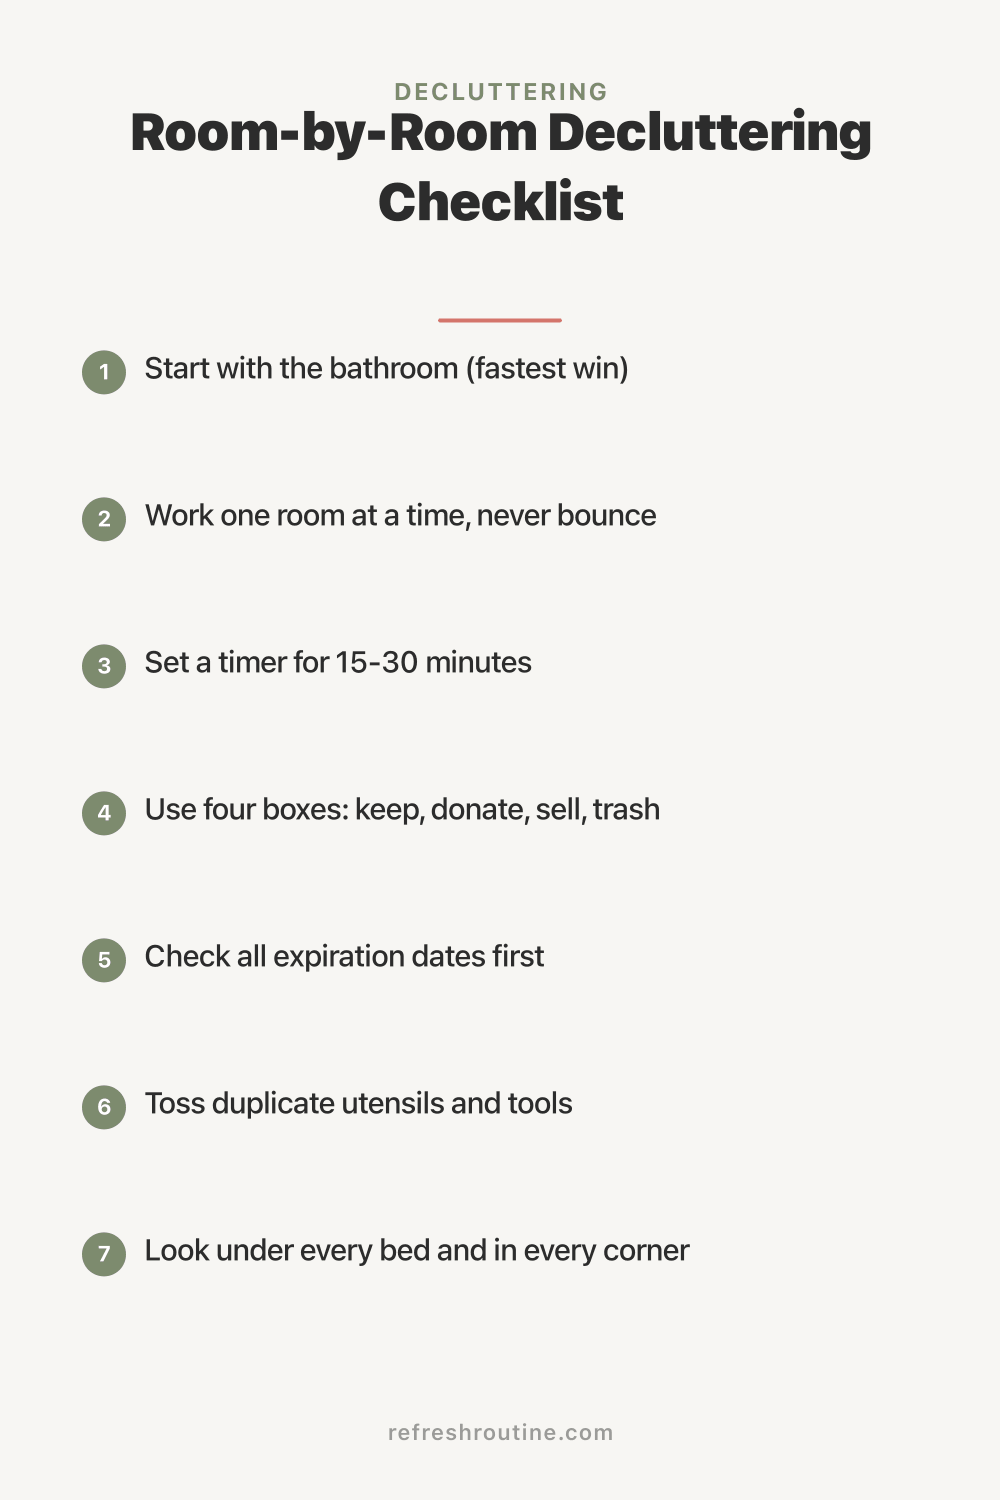
Before diving in, here are three rules that kept me on track when I first started:
- Work one room at a time. Don’t bounce between rooms. Finish each space before moving on, or you’ll end up with five half-done rooms (I made that mistake early on).
- Set a timer. Give yourself 15-30 minutes per session. You’ll be surprised how much you can get done in a short burst.
- Use the four-box method. For each room, have four containers ready: Keep, Donate, Sell, and Trash.
One thing I would add from my own experience: bring a trash bag and a donation bag with you into each room before you start. Having them right there removes the temptation to set something aside “for later.” The moment you decide an item is leaving, it goes straight into a bag. No second chances, no revisiting.
How Many Items Should You Declutter at a Time?
For sustainable progress, aim to remove 10 to 20 items per room per session. This keeps the process manageable without triggering decision fatigue. At 15 items per session, working through one room a week, most families declutter 400 to 500 items in two months. That is enough to create a visible, lasting difference in every room.
Bathroom (Start Here)
The bathroom is the easiest room to declutter because most decisions are pretty straightforward. Expired products go, duplicates go, things you never use go.
- Check expiration dates on all medications and toss expired ones (the FDA recommends not using expired medications)
- Remove skincare and beauty products you haven’t used in 3 months
- Consolidate duplicate products (how many half-used shampoo bottles do you really need?)
- Clear the countertop and keep only daily-use items visible
- Organize under-sink storage with bins or a small shelf riser
- Sort through hair tools and accessories. Keep what you actually use
- Replace worn towels and washcloths
- Clean out the medicine cabinet completely
I want to share a specific tip here. Pull every single item out from under your sink and lay it all on the bathroom floor. I found three bottles of half-used contact lens solution, two expired tubes of antibiotic ointment, and a curling iron I haven’t used since 2019. You will be amazed at what collects under there when you never fully empty the space.
Time estimate: 20-30 minutes
Kitchen
The kitchen accumulates more clutter than any other room because it’s where life happens. The USDA estimates that the average American household throws away approximately $1,500 in food waste each year, and a lot of that comes from items that expired because they got lost in the back of a cabinet. I’d recommend focusing on one area at a time. Don’t try to do all the cabinets in one session or you’ll burn out fast.
- Clear all countertops. Remove everything, then only put back daily-use items
- Check pantry for expired food and spices
- Remove duplicate utensils (you honestly don’t need four spatulas)
- Sort through food storage containers. Match lids to containers and recycle the orphans
- Clean out the junk drawer, yes, the whole thing
- Go through coffee mugs and water bottles. Keep your favorites, donate the rest
- Check under the sink and remove old cleaning products
- Sort through bakeware and rarely-used appliances
- Clear the top of the refrigerator
- Organize the fridge and freezer. Check dates and toss mystery containers
Here is my specific approach for the food storage container problem. I dump every single container and every lid onto the kitchen floor. Then I match them up like a puzzle. Anything without a match goes straight into recycling. I went from an overflowing cabinet to a tidy stack that fits in half the space. It took twelve minutes.
Time estimate: 2-3 sessions of 30 minutes each. For a deeper dive, see our pantry organization guide.
Bedroom
Your bedroom should be a calm retreat. I didn’t realize how much clutter was affecting my sleep until I finally dealt with it. It makes a real difference.
According to the National Sleep Foundation, a cluttered bedroom can interfere with your ability to fall asleep and stay asleep. The visual stimulation from mess keeps your brain alert when it should be winding down.
- Clear the nightstand. Keep only essentials like a lamp, phone charger, and one book
- Sort through the dresser drawer by drawer
- Remove clothes that don’t fit, are damaged, or haven’t been worn in a year. Our small closet guide has tips for organizing what’s left
- Clear the top of the dresser
- Look under the bed and deal with whatever’s hiding there
- Sort through books and magazines on shelves
- Organize jewelry and accessories. Donate what you don’t wear
- Check closet shelves for forgotten items
My personal rule for the nightstand: if it does not help me sleep, it does not belong there. I used to stack books, lip balm, hand cream, a water bottle, earplugs, a notebook, and three chargers on mine. Now it holds a lamp, my phone charger, and one book. The visual calm when I turn off the light makes a surprising difference.
Time estimate: 2-3 sessions of 30 minutes each
Living Room
The living room tends to collect items from every other room. I always start by returning things to where they actually belong before organizing what’s left.
- Collect items that belong in other rooms and put them away
- Sort through books. Keep what you love, donate what you’ve read and won’t reread
- Clear surfaces: coffee table, end tables, entertainment center
- Organize media: old DVDs, games, cables, and remotes
- Sort through throw blankets and pillows. Keep 2-3 and donate extras
- Check behind and under furniture for lost items
- Organize kids’ toys if they’ve migrated to the living room
- Deal with the stack of mail, catalogs, and papers
The living room is also where paper clutter tends to pile up. I set up a simple mail station near the front door with two folders: “action needed” and “file.” Every piece of mail gets sorted immediately. Junk goes straight into the recycling bin. This one habit eliminated the paper piles on my coffee table within a week.
Time estimate: 1-2 sessions of 30 minutes each
Home Office
Paper clutter is the silent killer of home organization. Be ruthless here. Most papers can be scanned and recycled, and you’ll feel so much lighter once they’re gone.
- Sort through all paper piles. Recycle, file, or scan. See our desk organization guide for a complete office system
- Clear the desk surface completely
- Organize desk drawers. Remove dried pens and old supplies
- Go through filing cabinets. Shred documents older than 7 years (except tax returns)
- Untangle and organize cables
- Remove books and reference materials you no longer need
- Sort through office supplies. Consolidate and donate extras
Here is a specific trick that saved me hours: the pen test. Pick up every single pen and marker in your home office and test it right now on a scrap piece of paper. I had 47 pens in various drawers. Only 19 actually worked. The rest went straight into the trash. It sounds silly, but dead pens are one of the most common sources of drawer clutter.
Time estimate: 1-2 sessions of 30 minutes each
Kids’ Rooms
If your kids are old enough, involve them in the process. It teaches valuable decision-making skills and prevents the “you threw away my favorite thing” meltdown. Trust me on this one. I learned the hard way.
- Sort through toys. Donate broken, outgrown, or unused toys
- Go through clothes and remove outgrown items
- Organize books. Keep age-appropriate favorites
- Check under the bed and in closet corners
- Sort through art supplies and school materials
- Reduce the stuffed animal collection (keep the favorites, photograph the rest for memories)
- Organize shelves and storage bins with labels
What worked for me with my kids was giving them ownership of the process. I let each child pick a specific number of toys to keep in each category. For example, my daughter could choose her 10 favorite stuffed animals. The rest we donated together. She felt in control, and we avoided tears. The key is letting them make the final call on their own things.
Time estimate: 1-2 sessions of 30 minutes per child’s room
Garage, Attic, and Storage Areas
Save these spaces for last. By now you’ll have built your decluttering muscles and can handle the big decisions with more confidence.
- Sort through seasonal decorations. Keep what you actually used last year
- Deal with old sports equipment and outdoor toys
- Go through tools. Return borrowed items and donate duplicates
- Check stored boxes. If you haven’t opened it in 2+ years, you probably don’t need what’s inside
- Sort through paint cans and chemicals. Dispose of properly
- Organize camping and outdoor gear
- Clear out old furniture and appliances you’ve been “meaning to fix”
The “two-year box test” is something I use for every unlabeled box in storage. If a box has been sitting sealed for two years and I cannot remember what is inside it, I open it. If nothing inside sparks immediate recognition or usefulness, the entire box goes to donation. I have never once missed anything from a two-year box.
Time estimate: 2-4 sessions of 30 minutes each
What Should You Do With Sentimental Items?
Sentimental items are the hardest to declutter because their value is emotional, not practical. Save them for last. By the time you reach sentimental items, you will have made hundreds of keep or toss decisions and built the mental muscle to handle harder choices. For items you want to remember but do not need to keep, take a photograph before letting them go. A digital photo takes up zero physical space and preserves the memory just as well.
Pro Tips From Someone Who Has Done This Twice
After decluttering my entire home twice (once when we moved and once for a fresh start), here are the things I wish every beginner knew.
Label your donation bags by room. If you change your mind about something within 24 hours, you can find it fast. After 24 hours, the bag leaves the house no matter what.
Take a “before” photo of each room. You will not believe the difference when you compare it to the “after.” On tough days, scrolling through those comparison photos is the motivation boost you need to keep going.
Do not declutter when you are emotional. Stress, sadness, or exhaustion make you either too ruthless or too sentimental. Aim for a calm, neutral mood. I once decluttered after a bad day and donated a sweater I actually loved. Wait for a clear head.
Schedule your decluttering sessions like appointments. Put them on your calendar. Treat them as non-negotiable. I block 30 minutes every Saturday morning, and it has become as automatic as brushing my teeth.
Celebrate each room you finish. This is not silly. Positive reinforcement keeps you going. After I finished the kitchen, I bought myself a nice candle to enjoy in the freshly cleared space. Small rewards make a big difference.
Key Takeaway
Decluttering your entire home is not a weekend project. It is a series of small, focused sessions spread over several weeks. Start with the bathroom for the fastest win, work through one room at a time using the four-box method, and remove donations within 24 hours. Consistency matters more than speed. At just 15 to 30 minutes per day, you can transform every room in your home within two months without burnout or frustration.
Your Decluttering Action Plan
Don’t try to do everything this weekend. Instead, commit to one room per week:
- Week 1: Bathroom
- Week 2: Kitchen (start with counters and pantry)
- Week 3: Kitchen (finish cabinets and drawers)
- Week 4: Bedroom
- Week 5: Living Room
- Week 6: Home Office
- Week 7: Kids’ Rooms
- Week 8: Garage and Storage
In two months, you’ll have decluttered your entire home at a pace that won’t burn you out. That’s what worked for me, and I think it’ll work for you too.
For a daily approach instead, try our 30-Day Declutter Challenge or start with our beginner guide on how to declutter when you don’t know where to start.

Frequently Asked Questions
How long does it take to declutter a whole house?
Most homes take 4-8 weeks when working room by room at 15-30 minutes per day. The key is consistency over speed — rushing leads to decision fatigue and burnout.
What order should I declutter rooms?
Start with the bathroom (smallest, fastest wins), then kitchen, bedroom, living room, and save the garage or attic for last. Easy wins first build momentum.
What should I do with items I declutter?
Sort into four piles: donate (good condition items), sell (valuable items over $20), recycle (paper, plastics), and trash (broken or unusable). Remove donate and trash bags within 24 hours.