Garage Workshop Setup: From Empty Space to Functional Shop
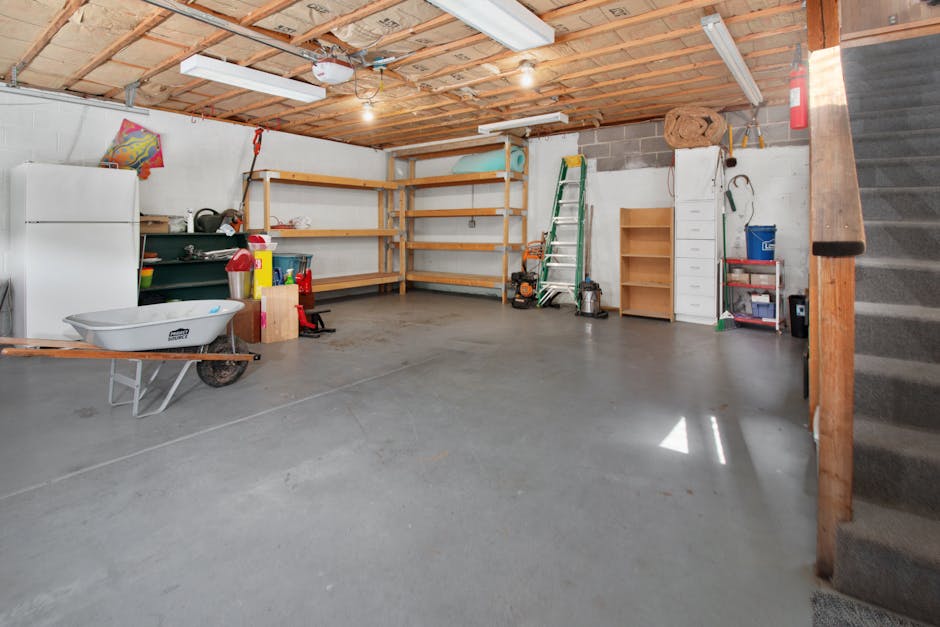
For 3 years our garage was a one-car garage with a section labeled “future workshop” that held boxes of tools I could not access. Every weekend project required excavating tools, then re-burying them. I gave up on most projects.
The functional workshop I have now took one weekend and $400 in materials. It transformed how often we tackle DIY projects. Here is the step-by-step setup guide.
Why a Functional Workshop Matters
Without a proper workshop:
- Projects do not happen: Tools too hard to access
- Tool damage: Pile-up causes wear
- Lost tools: 30% of tool collection becomes “lost”
- Time waste: 30+ minutes per project just setting up
- Safety risks: Loose tools cause accidents
- Family frustration: Garage becomes unusable
A workshop changes this. The space is organized to support work, not just store things.
According to a survey by Bob Vila, homeowners with functional workshops complete 3x more DIY projects annually than those with disorganized garages. The space enables the work.
What Are the Essentials of a Garage Workshop?
A functional garage workshop needs 5 essentials: dedicated workbench (4 to 6 feet long), good lighting (3,000+ lumens overhead plus task lighting), electrical access (multiple outlets at bench level), tool storage (within arm’s reach), and clear walking space (at least 3 feet around the bench). Total setup costs $300 to $1,000 depending on quality.
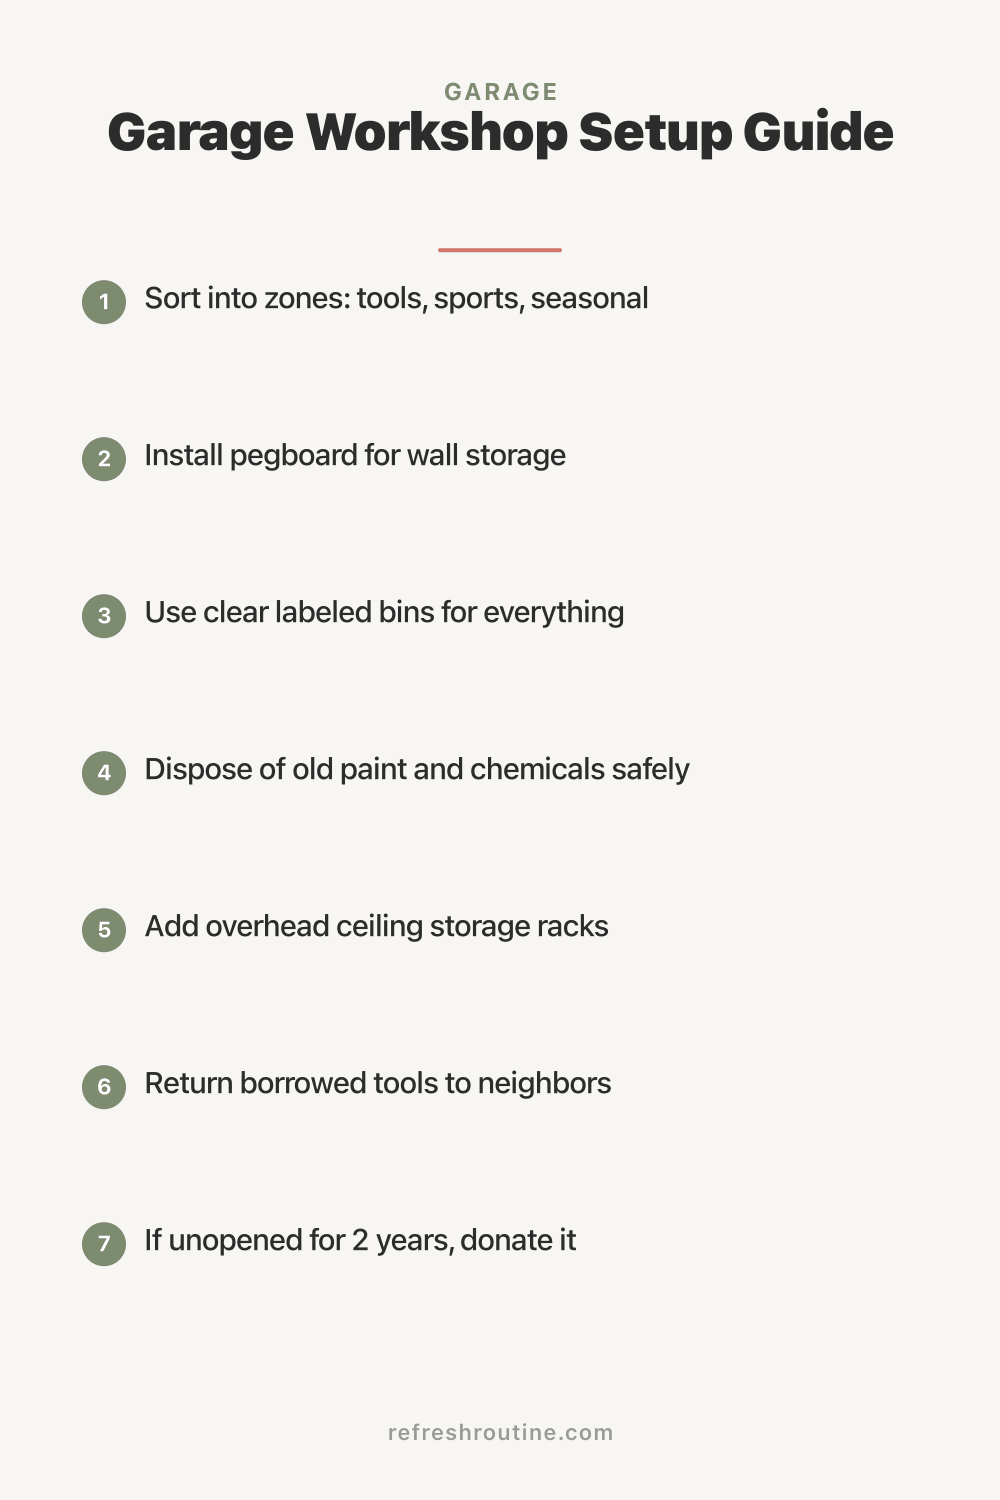
The 7-Step Workshop Setup
Step 1: Plan the Space (1 hour)
Measure your garage. Identify:
- Workshop zone (corner or back wall typical)
- Wall length available
- Ceiling height
- Outlet locations
- Window or natural light
Sketch the layout. Plan where the workbench, tools, materials, and storage will go.
For more on garage planning, see our garage zones guide.
Step 2: Clear the Space (4 hours)
Remove everything from the workshop area. Sort:
- Keep in workshop: Active tools and materials
- Move elsewhere: Items not workshop-related
- Donate or toss: Unused or broken items
The garage needs at least 80 square feet cleared for a basic workshop. More for larger projects.
For garage decluttering, see our garage decluttering guide.
Step 3: Install Lighting (2 hours)
Workshop lighting requirements:
- Overhead: LED strip lights or fluorescent (3,000 to 5,000 lumens minimum)
- Task lighting: Under-cabinet LEDs at workbench
- Color temperature: 5,000K cool white (shows true colors)
Existing 1 to 2 ceiling bulbs are usually inadequate. Add overhead LED bars ($75 to $150 for adequate coverage).
Step 4: Install or Build Workbench (3 to 6 hours)
Workbench options:
Buy ready-made ($150 to $500):
- Quick to install
- Limited customization
- Decent for most uses
Build basic ($75 to $150):
- 6-foot long
- 24- to 36-inch deep
- 36-inch high (most ergonomic)
- 2x4 lumber framing with plywood top
- Sturdy enough for most projects
Build heavy-duty ($200 to $400):
- Same dimensions but 2x6 framing
- Thicker plywood top
- Optional locking casters
- Vise mounted to one end
Quality workbench is the foundation. Invest here.
Step 5: Install Wall Storage (2 to 4 hours)
Pegboard, slatwall, or French cleats hold tools:
- Pegboard: Cheapest, easy to customize
- Slatwall: Premium look, easier to rearrange
- French cleats: Custom-fit, sturdiest
Mount above and around the workbench. Most-used tools at arm’s reach.
For specific pegboard setup, see our garage pegboard guide.
Step 6: Add Outlets and Power (2 hours - hire if not electrically experienced)
Workshop needs power:
- Outlets at workbench: At least 2 outlets, ideally 4
- GFCI for safety: Especially with water nearby
- Surge protection: Outlet-mounted or strip
If electrical work feels unsafe, hire an electrician for this step. Code requires proper installation.
Step 7: Organize Tools (3 to 5 hours)
Group tools by category:
- Hand tools: Hammers, screwdrivers, wrenches
- Power tools: Drills, saws, sanders
- Fasteners: Screws, nails, bolts
- Measuring: Levels, tape, square
- Cutting and shaping: Saws, chisels, planes
- Painting and finishing: Brushes, rollers, supplies
Each category gets a defined storage location. Frequently used tools on pegboard. Less-used in labeled drawers or bins.
For complete tool organization, see our tool organization guide.
What I Wish I Knew About Workshop Setup
After 5 years of refining the workshop, here is what helped most.
Plan storage before buying. I bought random plastic bins that did not match needs. Custom-fit shelving works far better.
Workbench height matters more than width. 36 inches is ergonomic for most adults. Too low strains back. Too high makes precision work hard.
Lighting cannot be skipped. First workshop with bad lighting saw projects abandoned. Second workshop with proper lighting tripled DIY output.
Casters on the workbench help small spaces. Workshop benches with casters can be moved when not in use. Small garages need flexibility.
Vacuum or dust collection matters. Even simple shop vacs reduce mess. Dust accumulation slows future projects.
How Do You Maintain a Garage Workshop?
Maintain a garage workshop with three habits: tools-back-immediately rule (every tool returns to its spot after use), weekly 15-minute reset (sweep, organize, restock supplies), and quarterly deep cleaning (full reorganization, decluttering of unused tools). Without maintenance, even the best-set-up workshop returns to chaos within 6 months.
Specific Workshop Setups
Small Garage (One-Car)
Workshop in corner only:
- 4-foot workbench
- Wall pegboard above bench
- Compact tool storage
- Foldable assembly table
- Tool cart on wheels
Tools: Limited to portable cordless. No table saw or large miter saw.
Standard 2-Car Garage
Half-garage workshop, half-car storage:
- 6-foot workbench
- Full wall of pegboard and storage
- Standing miter saw or chop saw
- Workbench vise
- Wall outlets ample
Tools: Full set of cordless plus 1 to 2 stationary tools.
Large Garage or Detached Shop
Dedicated workshop:
- 8-foot workbench
- Multiple work zones (cutting, assembly, finishing)
- Table saw with feed support
- Miter saw with stand
- Dust collection system
- Multiple outlets and lighting
Tools: Full professional setup.
Workshop Safety Setup
Safety should be built in:
PPE accessible: Safety glasses, hearing protection, dust mask, gloves
First aid: Stocked first aid kit in workshop
Fire safety: Extinguisher at exit, no flammables near electrical
Ventilation: Window or fan for fumes
Lighting: Adequate to see work clearly
Tool guards: Maintain factory safety features
Children: Lock for tools or workshop access if needed
Tool Storage Solutions
Hand Tools
- Pegboard for visible storage
- Drawer organizers for screwdrivers, wrenches
- Magnetic strips for chisels and small metal tools
- Tool box for portability
Power Tools
- Wall mounts for cordless tool brackets
- Shelf storage for case tools
- Battery charger station near outlets
- Drawer for accessories
Fasteners
- Small parts organizers (drawer or wall units)
- Mason jars with screw-on lids
- Labeled bins by size and type
- Designated dispense zone near workbench
Materials
- Lumber rack for wood
- Wall bins for sheet goods
- Designated cabinet for paint and finishes
- Floor space for materials in progress
Building Project Workflow
A workflow-friendly workshop has:
Material entry: Where new materials arrive Cutting station: Saws and cutting tools Assembly station: Workbench Finishing station: Sanding, painting, varnishing area Output zone: Where completed projects exit
Even small workshops benefit from this flow.
Common Workshop Setup Mistakes
After helping family members set up workshops:
Mistake 1: Skipping the planning phase. Random tool placement.
Mistake 2: Cheap workbench. Wobbling work surface fails precision tasks.
Mistake 3: Inadequate lighting. Mistakes from poor visibility.
Mistake 4: Mixing workshop with general garage storage. Workshop must be defined.
Mistake 5: Buying tools before space exists. Tools without homes become clutter.
For complete garage organization, see our garage zones and garage decluttering guides.
Tool Investment Strategy
Build tool collection gradually:
Year 1 (Essential, $300 to $500)
- Cordless drill ($100)
- Circular saw ($75)
- Miter saw ($150)
- Basic hand tools ($75)
- Tape measure, level, square ($25)
Year 2 (Expansion, $200 to $400)
- Random orbit sander ($60)
- Jigsaw ($75)
- Impact driver ($80)
- Additional hand tools ($75)
- Workbench vise ($75)
Year 3+ (Specialized, $300 to $1,000)
- Table saw (if doing serious woodwork)
- Bench grinder
- Drill press
- Router
- Specialty tools per project type
Resist buying tools you do not need yet. Tools without immediate use become clutter.
Budget Workshop on $400
A functional workshop is possible on $400:
- DIY workbench: $100 in materials
- LED shop lights: $75
- Pegboard and hooks: $50
- Basic tools: $150
- Storage bins: $25
This gets a functional shop for repairs, small projects, and basic DIY work.
Premium Workshop ($1,500+)
For serious DIYers:
- Quality workbench: $400
- Full lighting system: $200
- Miter saw with stand: $300
- Table saw: $400 to $1,500
- Dust collection: $200
- Premium tool storage: $300
This setup handles cabinetmaking, furniture building, and advanced projects.
Key Takeaway
A functional garage workshop is more than tool storage; it is a defined space designed to support work. The 7 essential steps: plan the space, clear the area, install adequate lighting, build or buy a quality workbench, install wall storage (pegboard or slatwall), add adequate outlets, and organize tools by category. Most workshops can be set up in one focused weekend with $300 to $1,000 in materials. The transformation enables 3x more DIY projects annually. Start with the workbench foundation and lighting. Add storage and tools as projects demand. The right setup turns garage work from frustrating excavation to enjoyable creation.
For more garage organization, see our garage zones, garage pegboard, and tool organization guides.

Frequently Asked Questions
What is the minimum size for a garage workshop?
A functional garage workshop needs minimum 80 to 100 square feet of dedicated space (8 to 10 feet by 10 feet). This fits a 6-foot workbench, basic tool storage, and movement space. Smaller spaces work but limit projects to small repairs and crafts. For serious woodworking, allow 150+ square feet.
What are the basic tools every garage workshop needs?
Basic tools include a quality cordless drill, circular saw, miter saw or hand saw, levels (2 and 4 foot), tape measure, hammer, screwdriver set, wrench set, pliers, utility knife, sandpaper, and basic hardware (screws, nails). Total cost for quality basic kit: $300 to $600.
How do you set up garage lighting for a workshop?
Set up garage workshop lighting with overhead LED strip lights (3,000+ lumens minimum), task lighting at the workbench (under-cabinet LEDs), and a movable spot light for detail work. Cool white (5,000K) shows true colors. Cost: $100 to $300 for adequate lighting in a 2-car garage.