Cable Management Ideas That Actually Work

My desk had 14 cables visible. Mouse, keyboard, two monitors, monitor power, computer power, USB hub, webcam, microphone, headphones, phone charger, desk lamp, plant light, and one mystery cable I never identified. It looked like a server rack exploded.
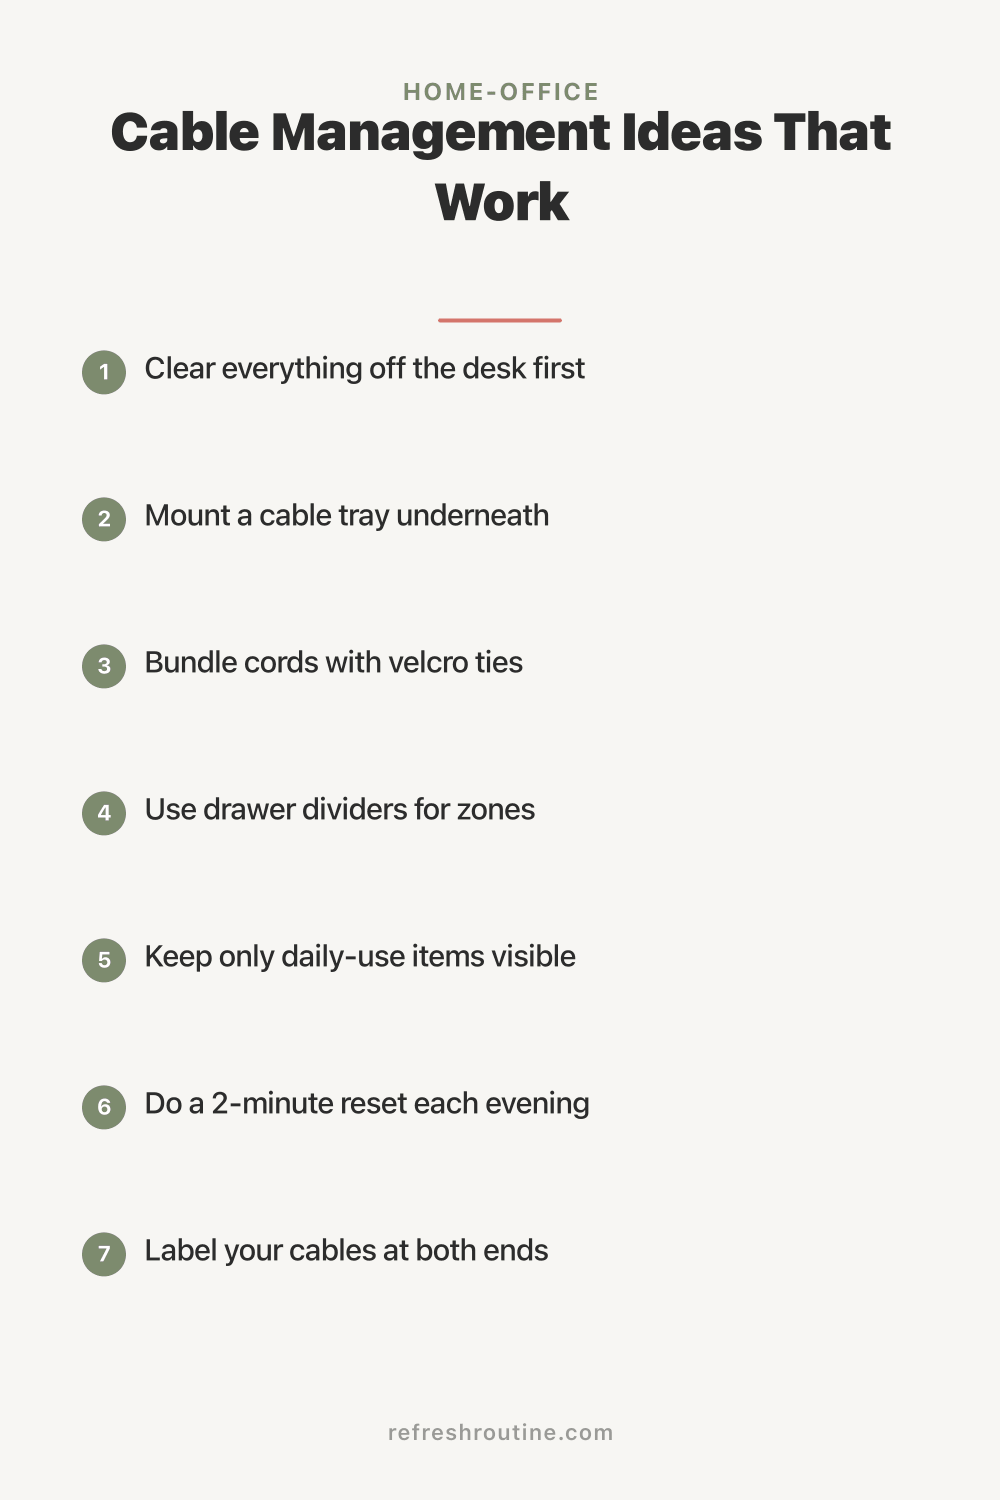
Cable management seems like a luxury until you spend 20 minutes pulling out the wrong cable, then it becomes urgent. Here are the 10 cable management ideas that actually work, ranked by impact.
Why Cable Management Matters
Cables create real problems beyond looking bad:
- Tripping hazard: Cables across floors cause falls
- Dust collection: Tangled cables accumulate dust 3x faster than organized ones
- Heat issues: Bundled cables can overheat
- Repair difficulty: Finding the right cable in a mess takes forever
- Cleaning friction: You stop moving the desk to clean because of cables
- Cable damage: Tangling causes wear and shortens lifespan
According to a study from BetterHelp, visible clutter (including cable clutter) raises cortisol levels measurably. Your nervous system notices cables even when your conscious mind has stopped seeing them.
What Is the Most Effective Cable Management Tool?
The most effective cable management tool is the under-desk cable tray. A simple metal or plastic tray mounts to the bottom of the desk and holds power strips, cables, and small adapters. This single tool moves cables from “visible on the floor and back wall” to “completely hidden under the desk.” Most cost $20 to $40.
10 Cable Management Ideas That Work
1. Under-Desk Cable Tray (Best Overall)
A cable tray mounts to the underside of any desk. Power strip lives in the tray. Cables come up through one or two grommets in the desk. The space underneath stays clear.
Cost: $20 to $40 Best for: Any desk setup, especially with multiple monitors
2. Cable Sleeves
Flexible mesh or neoprene sleeves bundle multiple cables together. The bundle moves as one piece and looks intentional.
Cost: $10 to $20 for a multi-pack Best for: TVs, computer towers, anywhere cables travel a long distance
3. Velcro Cable Ties
Velcro ties are reusable and adjustable. Unlike zip ties, you can release and re-tie without cutting. Essential for setups that change often.
Cost: $8 for 100 ties Best for: Bundling related cables (all USB, all power, etc.)
4. Adhesive Cable Clips
Small adhesive clips route individual cables along edges and corners. Stick them under desks, behind furniture, or along walls.
Cost: $10 for 50 clips Best for: Routing single cables cleanly
5. Cable Management Box
A small box with a slot for power strip and exit ports hides ugly outlets and adapters. Sits on the floor or in a corner.
Cost: $20 to $35 Best for: TV setups, entryway charging stations
6. Cord Concealer (Wall-Mounted)
For TVs mounted high on the wall, cord concealers route cables down the wall in a paintable plastic channel. Looks much better than dangling cords.
Cost: $15 to $25 Best for: Wall-mounted TVs
7. In-Wall Cable Channels (Permanent)
For owned homes, in-wall channels route cables completely out of sight. Requires drilling through drywall.
Cost: $30 to $50 plus installation time Best for: Permanent setups in owned homes
8. Cable Labels
A label maker creates labels for both ends of every cable. Identifying cables becomes instant.
Cost: $20 to $30 for a label maker Best for: Setups with many similar cables
9. Magnetic Cable Holders
Small magnetic clips hold cables in place on metal desks or appliances. Quick and adjustable.
Cost: $15 for a set Best for: Metal desks, refrigerator charging
10. Cord Reels
For cables you do not always need (laptop charger, presentation HDMI), retractable cord reels keep them tidy when not in use.
Cost: $20 to $40 Best for: Mobile setups, conference rooms
What I Wish I Knew About Cable Management
After managing cables in 4 home offices, here is what helped.
Plan before buying. Map out which cables you have, where they need to go, and what gets bundled. Buying solutions before planning leads to waste.
Power strip placement is the master decision. Where you place the power strip determines everything else. Put it under the desk, on the back of furniture, or in a hidden corner.
Color matters more than I thought. Black cables on black furniture disappear. White cables on white walls disappear. Match cable colors to surroundings.
Cable management is ongoing. New devices add cables. The system needs occasional updates. Plan for monthly 15-minute reviews.
Label both ends, not just one. When troubleshooting, you need to know what cable you are looking at from either side.
Desk Setup: The Complete Cable Plan
Step 1: Plan the Path
Each cable has a start (the device) and an end (the power source or computer). Draw the path before installing.
Step 2: Install Hardware
- Mount under-desk cable tray
- Install adhesive clips along edges
- Add grommets to desk if needed
Step 3: Route Cables
Run each cable along its planned path. Use clips to hold in place. Bundle related cables in sleeves.
Step 4: Connect and Label
Plug everything in. Label each cable at both ends with what it connects to.
Step 5: Test and Adjust
Use the setup for a week. Adjust any cables that catch, tangle, or interfere.
TV Setup: Hiding Cables Behind the Wall
For Mounted TVs
- Use an in-wall cable management kit (FishStick or similar) to route cables behind drywall
- Install one electrical box behind the TV and one near the floor
- Run HDMI, power, and other cables between the boxes
- Paintable wall plates cover the holes
For TVs on Stands
- Place all components (cable box, gaming console, soundbar) on the stand
- Use a cable management box for the outlets behind
- Bundle cables with velcro every 8 to 12 inches
- Use cable sleeves for cables that travel from TV to components
For more on TV organization, see our living room organization guide.
How Do You Manage Cables for a Standing Desk?
Standing desks need flexible cable management because the desk height changes. Use cable spines (vertical flexible channels that flex with movement), longer cables to allow for height changes, and cable management trays mounted to the desk itself (not the wall). Most ergonomic desk brands sell specific accessories for cable management with adjustable height.
Common Cable Management Mistakes
Mistake 1: Buying tools before planning. Solution: plan paths first.
Mistake 2: Using zip ties. They cut into cables over time. Use velcro.
Mistake 3: Bundling too tight. Heat builds up. Leave breathing room.
Mistake 4: Mixing data and power cables tightly. Interference can occur. Keep some separation.
Mistake 5: Ignoring cable length. Cables that are too long create knots; too short create stress.
For more on workspace optimization, see our desk organization and small home office guides.
Cable Management for Renters
If you cannot drill into walls:
- Adhesive everything: Adhesive clips, hooks, channels
- 3M Command products: Strong hold, residue-free removal
- Furniture-based solutions: Run cables behind furniture you already own
- Cable management boxes: Floor-based, no installation needed
- Sleeves and ties: Bundle and label without permanent installation
These solutions handle 90% of cable management without affecting walls.
Maintenance Routine
After setup, maintain monthly:
- Dust cables and bundles
- Check for new cables that need integration
- Retire unused cables (don’t keep “just in case”)
- Update labels as devices change
For monthly cleaning context, see our monthly cleaning checklist.
Key Takeaway
Cable management is one of those projects that seems optional until you spend an evening untangling a knot. The 3 essential tools are an under-desk cable tray ($20 to $40), velcro ties for bundling ($8), and adhesive clips for routing ($10). Together, these handle most desk setups. For TVs, add a cable management box ($20 to $35) or in-wall channels if you own. Label both ends of every cable. Plan the cable paths before installing hardware. The whole setup takes 1 to 2 hours and transforms how a workspace feels. The dust reduction alone is worth the effort.
For more workspace ideas, see our desk organization and WFH routine guides.

Frequently Asked Questions
What is the best way to hide cables on a desk?
Hide desk cables with three tools combined: an under-desk cable tray (catches all cables), velcro ties (bundle related cables), and adhesive clips (route cables along edges). Pass everything through one labeled outlet bundle to a single power strip on the cable tray. The desk surface stays cable-free.
How do you organize TV cables?
Organize TV cables by routing them through in-wall cable channels (if drywall), behind decorative cable covers (renter-friendly), or through a cable management box. Mount the power strip directly to the back of the TV stand. Bundle cables with velcro every 8 to 12 inches. Label each end of every cable.
Why is cable management important?
Cable management improves safety (tripping hazard, fire risk from overheating bundles), reduces dust accumulation (clean cables run cooler), extends cable lifespan (less wear from tangling), simplifies repairs (you can identify cables quickly), and makes cleaning easier. The cosmetic benefit is real, but the practical benefits are bigger.