Under-Sink Storage Ideas That Maximize Space
The cabinet under my kitchen sink used to be the place where cleaning products went to get lost. I would shove a new bottle of spray cleaner in there, and it would disappear behind three half-empty bottles of the same thing. When I finally pulled everything out, I counted 14 cleaning products, 6 of which were duplicates.
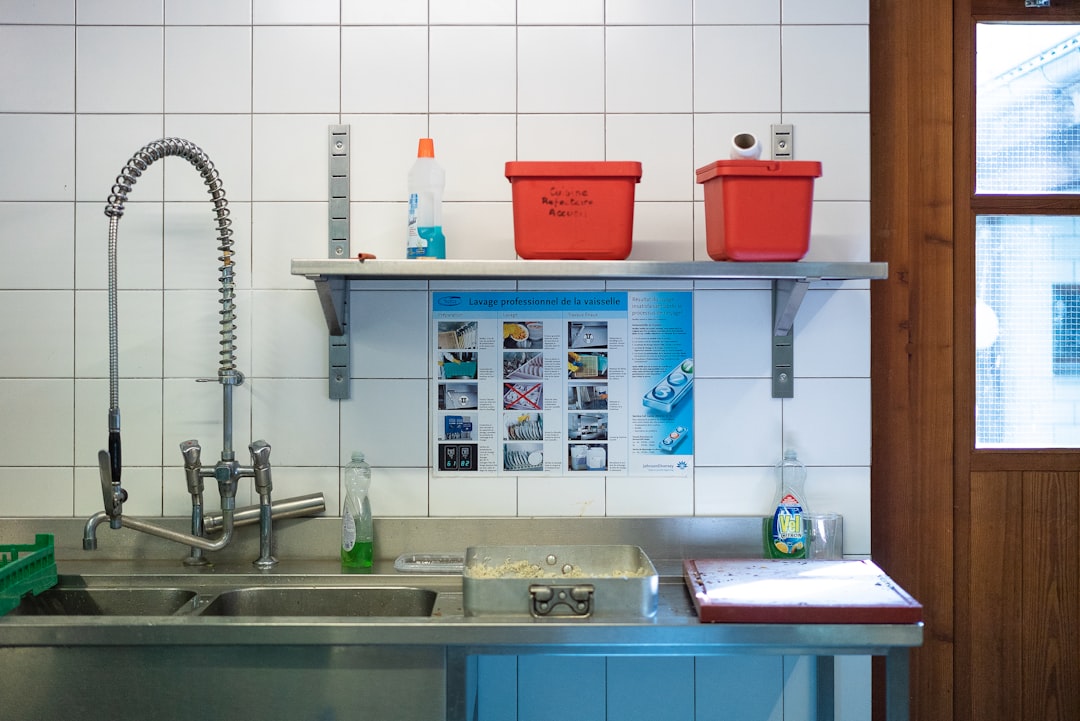
If your under sink storage feels like a black hole, you’re not alone. This is one of the most underutilized spaces in any kitchen, and it’s also one of the most awkward to organize because of the pipes, garbage disposal, and water lines running through it. The good news is that a few affordable organizers can completely transform this cabinet in under an hour.
According to the National Association of Productivity and Organizing Professionals, 82% of Americans feel more relaxed in an organized home. Starting with under sink organization is one of the quickest wins you can get because it takes so little time but makes your daily routine noticeably smoother.
What Is the Best Way to Organize Under the Kitchen Sink?
The best approach is to divide the space into zones using stackable bins, a tension rod for spray bottles, and a small shelf riser to create two levels of usable storage. Start by emptying everything, tossing expired or duplicate products, and measuring the space around your pipes. Then assign each zone a category: dish cleaning, surface cleaning, and extras like trash bags. This zoned approach prevents the pile-up that makes under-sink cabinets so frustrating.
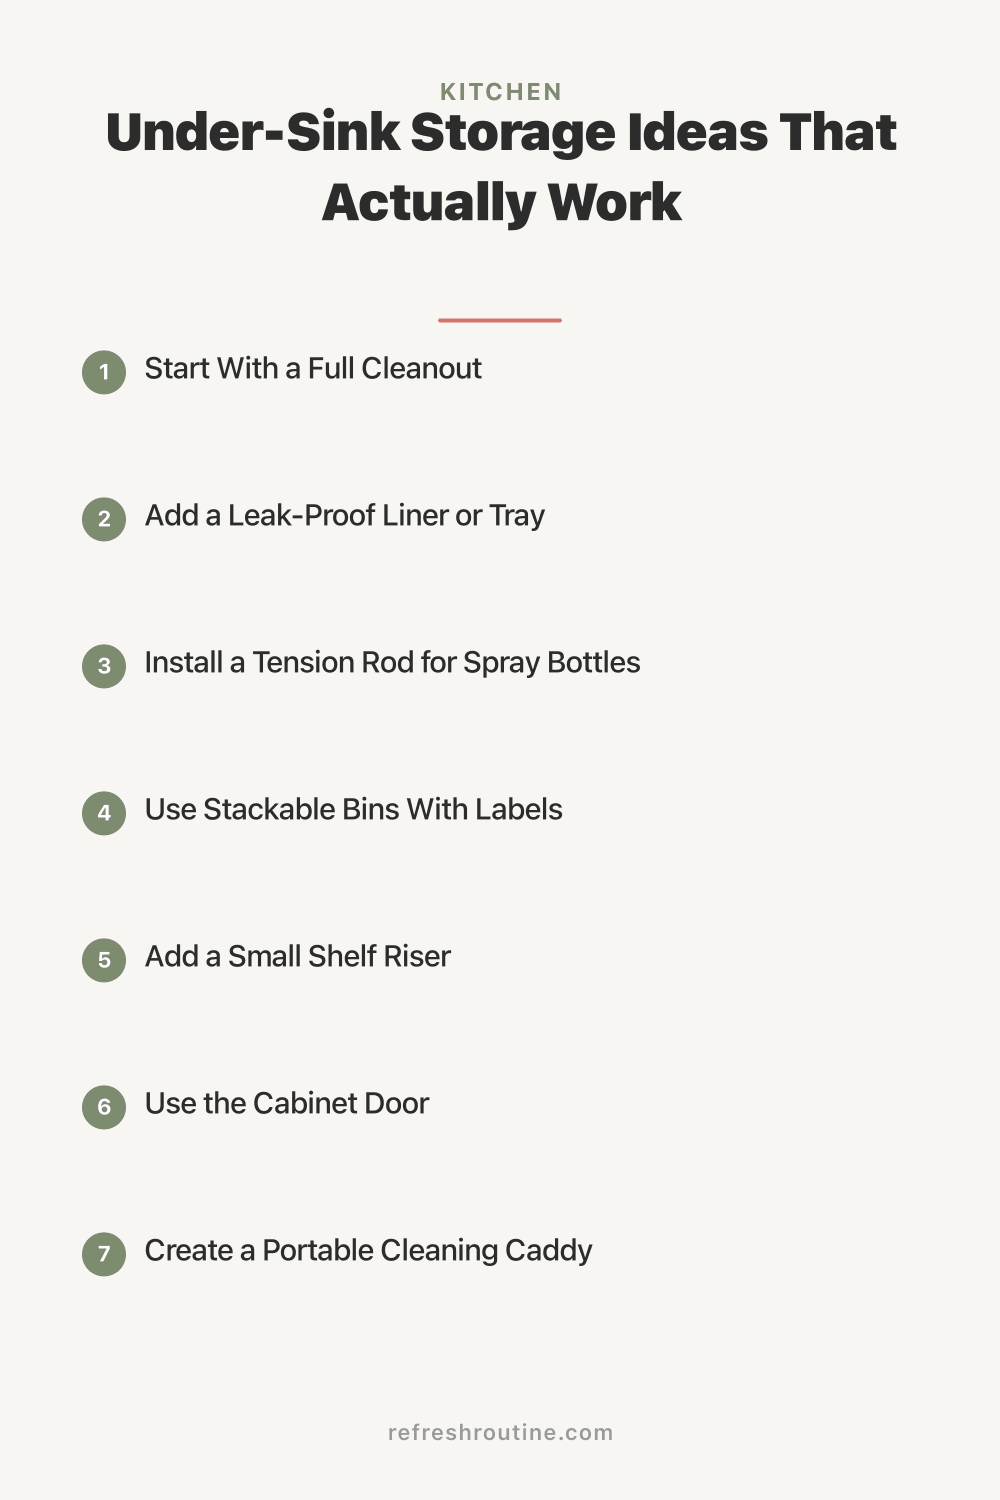
1. Start With a Full Cleanout
Before adding any organizer, empty the entire cabinet. Pull everything out onto the counter and sort items into three groups:
- Keep: Products you use at least once a week
- Toss: Expired cleaners, empty bottles, dried-out sponges
- Relocate: Items that don’t belong under the kitchen sink (tools, random batteries, old rags)
I found a bottle of wood polish from 2019 under my sink. It had separated into two layers and was completely useless. According to the American Cleaning Institute, most cleaning products have a shelf life of about two years. If it looks off or smells strange, it is time to let it go.
Time estimate: 15 minutes for the cleanout alone.
2. Add a Leak-Proof Liner or Tray
This step comes before any organizer, and I wish someone had told me this earlier. A simple shelf liner or drip tray protects the cabinet floor from leaks. Even a slow drip from a pipe connection can warp particleboard over time.
Options that work well:
- Boot trays ($8-12): Shallow trays with raised edges catch leaks and spills
- Adhesive shelf liner ($6-10): Waterproof liners protect the surface and make cleanup easier
- Silicone baking mats: If you have extras, these work surprisingly well as a quick liner
I use a simple boot tray that I bought for $9. It has caught two small leaks that would have damaged my cabinet floor. Worth every penny.
3. Install a Tension Rod for Spray Bottles
This is my single favorite under kitchen sink organizer. A basic tension rod (the kind you would use for a curtain) fits across the width of the cabinet. Hang spray bottles from it by their trigger handles. This lifts them off the cabinet floor and frees up the entire bottom for bins and other items.
How to install:
- Measure the inside width of your cabinet
- Buy a tension rod that fits that range (most adjustable rods cover 16-28 inches)
- Position it about halfway up the cabinet, behind the pipes
- Hang spray bottles with triggers over the rod
Cost: $5-8 for a basic tension rod.
I fit seven spray bottles on one rod. That freed up about a third of my under sink cabinet floor space for bins and a small trash bag roll organizer.
4. Use Stackable Bins With Labels
Bins are the backbone of any under sink storage system. The key is choosing bins that fit around the pipes rather than fighting the awkward shape of the cabinet.
Best bin sizes for under the sink:
- Narrow rectangular bins (about 5 x 10 inches) fit beside pipes
- L-shaped or angled bins designed specifically for under-sink use
- Small square bins (6 x 6 inches) work for sponges, gloves, and small supplies
Label each bin with its contents or category. I use a simple label maker, but masking tape and a marker works just as well.
My current bin setup:
- Bin 1: Dish soap refills, dishwasher pods, rinse aid
- Bin 2: Sponges, scrub brushes, gloves
- Bin 3: Trash bags, recycling bags
This system means I never have to dig around for anything. I pull out the bin I need, grab what I want, and slide it back.
5. Add a Small Shelf Riser
The average under-sink cabinet is about 20 inches tall, but most cleaning products are only 8-10 inches. That means you have 10 inches of dead vertical space above your products. A shelf riser fixes this instantly.
Look for expandable shelf risers that can be adjusted to fit around pipes. These create a second level without any drilling or permanent installation.
Cost: $12-18 for an adjustable riser.
I put my shelf riser on the right side of the cabinet (the pipe-free side) and gained enough room to store an entire second row of products. My under sink storage effectively doubled.
How Much Does It Cost to Organize Under the Kitchen Sink?
Most under-sink organization projects cost between $25 and $50 total. A tension rod runs about $5-8, stackable bins cost $10-20 for a set of three, a shelf riser is $12-18, and a drip tray is $8-12. You can start even cheaper by repurposing bins and containers you already own. I spent $32 on my initial setup, and everything has lasted over two years with no replacements needed. The investment pays for itself by eliminating duplicate purchases of cleaning products you forgot you had.
6. Use the Cabinet Door
The inside of the cabinet door is prime storage space that most people overlook. You can mount small organizers there for items you reach for daily.
Options for door-mounted storage:
- Command hook strips for hanging gloves or a small dustpan
- Adhesive-mounted small baskets for sponges or dishwasher pods
- A small magnetic strip for holding metal scrub brushes
Important: Make sure whatever you mount is shallow enough that the door still closes completely. I made the mistake of attaching a basket that was too deep, and it pushed against the tension rod every time I closed the door. Measure the depth between the door and the nearest obstacle before you buy anything.
7. Create a Portable Cleaning Caddy
Instead of keeping all cleaning supplies loose under the sink, put your most-used products in a portable caddy with a handle. When it is time to clean the kitchen, grab the caddy and go.
My caddy includes:
- All-purpose spray
- Glass cleaner
- Microfiber cloths (2)
- Scrub sponge
- Paper towels
This caddy lives under the sink but comes out whenever I clean. It also makes it easy to carry supplies to the bathroom or other rooms, which connects nicely to our daily cleaning routine approach. If you are working through your whole home, our small closet ideas guide applies the same principle of using every inch of vertical space in tight areas.
8. Store Trash and Recycling Bags Smartly
Trash bag rolls take up more space than they need to. Here are two solutions that work well:
- Mount a small rod or hook on the side wall of the cabinet and hang the roll from it
- Use a small tissue box to dispense trash bags one at a time (stuff them in and pull them out like tissues)
I use the tissue box method for my 13-gallon kitchen bags. It keeps them contained and makes it easy to grab one when I need to change the trash.
Pro Tips From Two Years of Under-Sink Organization
After reorganizing my under-sink cabinet three times, these are the insights that made the biggest difference.
Measure around the pipes first. Every under-sink cabinet has a different pipe configuration. Take measurements before buying any organizers, including the height from cabinet floor to pipes, the width on each side of the pipes, and the depth of the cabinet. I wasted $15 on a shelf riser that did not fit because I assumed a standard size would work.
Keep a “restock” list on the cabinet door. I tape a small notepad inside the door. When a product runs low, I jot it down immediately. This prevents both running out of essentials and buying duplicates.
Limit products to what you actually use. I used to keep specialty cleaners for every surface. Now I use three products for 90% of my kitchen cleaning: an all-purpose spray, dish soap, and a disinfectant. Fewer products means more space and less money spent.
Check for leaks monthly. While you are grabbing supplies, glance at the pipe connections. Catching a small drip early prevents water damage. According to the EPA, household leaks waste nearly 1 trillion gallons of water nationally each year, and many start with small drips under sinks.
Key Takeaway
Under sink organization comes down to five things: clean out what you don’t need, protect the cabinet floor with a liner, use a tension rod for spray bottles, add bins with labels for grouping, and install a shelf riser to double your vertical storage. The whole project costs under $50 and takes about an hour. Once your under sink storage has designated spots for everything, maintaining it takes almost no effort because items naturally go back where they belong.
For more ways to organize your kitchen, explore our kitchen organization hub or check out our pantry organization guide. If you are tackling the whole house, our room-by-room decluttering checklist is a great next step.

Frequently Asked Questions
What should you store under the kitchen sink?
Store dish soap, sponges, cleaning sprays, trash bags, and dishwasher pods under the kitchen sink. Avoid storing food, paper products, or anything that could be damaged by a small leak. Keep a shallow tray or liner underneath everything to catch drips early.
How do you organize cleaning supplies under the sink?
Group cleaning supplies by task: dish cleaning products on one side, surface sprays in the middle, and specialty cleaners on the other side. Use a portable caddy for frequently used sprays so you can grab the whole set at once and carry it to other rooms.
How do you keep under the sink from getting cluttered?
Assign every item a specific spot using bins, shelf risers, or a tension rod. Do a monthly check to toss empty bottles and expired products. The key is limiting what goes under the sink to items you actually use in the kitchen.