Garage Shelving DIY: Build Sturdy Storage in a Weekend
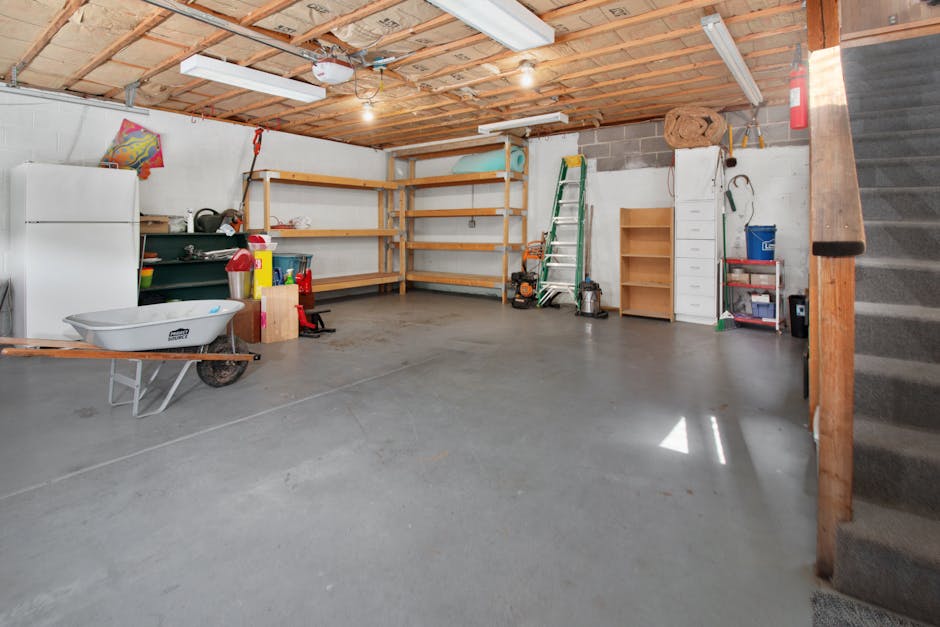
Our garage came with one wire shelf that bent under any weight. After two failed attempts to organize using cheap storage, I built sturdy wood shelves in one weekend. Three years later, they hold hundreds of pounds and look great.
Garage shelving is the foundation of any organized garage. Here is the step-by-step DIY guide.
Why DIY Shelving Works
DIY garage shelves:
- Cost: $80 to $200 vs $200 to $600 for ready-made
- Quality: Sturdier than most pre-built options
- Custom size: Fits your specific garage dimensions
- Adjustable: Add or modify as needs change
- Satisfying: Sense of accomplishment
According to research from Family Handyman, homeowners who DIY garage shelving spend 60% less than buying pre-built systems while getting sturdier results.
What Is the Best DIY Garage Shelving Design?
The best DIY garage shelving design uses 2x4 wood framing with 3/4 inch plywood shelves, mounted to studs for stability. Standard dimensions: 4 to 6 feet tall, 16 to 24 inches deep, 4 to 8 feet wide. The design supports 200+ pounds per shelf when properly built and anchored.
Materials Needed
For an 8-foot wide, 5-shelf system:
Wood
- (10) 2x4 x 8 feet (framing)
- (5) 3/4” plywood, 4’x8’ (shelves)
- Plywood cuts to 24”x96” (5 shelves)
Hardware
- 3-inch wood screws (1 box, 100 count)
- 2.5-inch wood screws (small box)
- Wall anchors or stud locator
- Level
Tools
- Circular saw (or pre-cut lumber)
- Drill with bits
- Stud finder
- Level (2-foot minimum)
- Measuring tape
- Pencil
- Safety glasses
Total cost: $80 to $200
Building the Shelves
Step 1: Measure and Plan (30 min)
- Measure the wall
- Note studs (stud finder)
- Plan shelf height (typical: 16, 32, 48, 64 inches)
- Note any obstructions (windows, outlets)
Step 2: Cut the Wood (60 min)
If not pre-cut:
- Cut 2x4s to length
- Cut plywood to 24”x96” pieces (or width that fits design)
- Sand any rough edges
Step 3: Build Frame (90 min)
Two side frames:
- 2x4 vertical posts at 4 corners
- Cross supports at each shelf height
- Pre-drill holes for screws
- Assemble side frame
Step 4: Mount to Wall (60 min)
- Locate studs with finder
- Mark with pencil
- Drill pilot holes through 2x4 frame
- Drive 3-inch screws into studs
- Check level
- Adjust if needed
Step 5: Add Shelves (60 min)
- Position plywood on cross supports
- Pre-drill holes
- Drive 2.5-inch screws through plywood into supports
- Two screws per support point
- Check level on each shelf
Step 6: Final Touches (30 min)
- Sand any rough edges
- Paint or seal (optional)
- Add labels for organization
- Stand back and admire
Total time: 5 to 6 hours for first build.
What I Wish I Knew About DIY Shelving
After 3 years of using ours, here is what helped most.
Build to studs only. Drywall anchors fail for heavy storage. Hit studs always.
24-inch depth is the sweet spot. Deeper feels cramped; shallower limits storage.
Adjustable shelf heights. I made 4 levels with movable heights. Different items need different spaces.
Edge support matters. I added 2x4 at front edge of plywood. Prevents sagging under heavy load.
Paint or seal. Garage humidity affects unfinished wood. Coat saves wood over time.
How Do You Mount Shelves Securely?
Mount shelves securely by always anchoring into wall studs, never just drywall. Use stud finder to locate studs (16 to 24 inches apart). Drive 3-inch wood screws through the shelf frame directly into studs. Use level during installation. The combination of stud anchoring and proper screws creates secure mounting that holds hundreds of pounds.
Alternative Shelving Materials
Metal Wire Shelving
- Pre-built systems
- Quick install
- Higher cost ($200 to $500)
- Less sturdy than wood for heavy items
Plastic Shelving
- Lightweight
- Quick install
- Cheaper ($50 to $150)
- Lower weight capacity (50 to 100 lbs per shelf)
Wood Shelving (DIY)
- Sturdiest construction
- Custom dimensions
- Moderate cost ($80 to $200)
- Time investment required
For most homes, DIY wood shelving offers the best value and quality.
Specific Shelving Configurations
Single Wall (8 feet)
- 5 shelves
- 8 feet wide
- 4 to 6 feet tall
- ~150 cubic feet of storage
L-Shape (Corner)
- Two walls (8 feet each)
- 4 to 5 shelves
- Total 16 feet wide
- ~300 cubic feet of storage
U-Shape (Three Walls)
- Three walls
- 4 to 5 shelves
- 24 feet total width
- ~450 cubic feet of storage
Match design to garage size and storage needs.
Storage Strategy
After building shelves:
Use Clear Bins
- Visibility (see contents)
- Stackable
- Standard sizes
- Label with category
Heaviest at Bottom
- Reduces risk of falling
- Easier access
- Doesn’t strain shelves over time
Frequently Used at Eye Level
- 4 to 5 feet high
- Easy access daily
- Less reaching
Top Shelves for Light Items
- Seasonal items
- Rarely used
- Lightweight
For more garage organization, see our garage zones and garage decluttering guides.
Common DIY Shelving Mistakes
After helping family members build their own:
Mistake 1: Not using studs. Shelves fall.
Mistake 2: Insufficient cross support. Sags over time.
Mistake 3: Too thin plywood. Bends under weight.
Mistake 4: Skipping level check. Crooked shelves.
Mistake 5: Inadequate sanding. Splinters in items.
For garage workshop tips, see our garage workshop setup guide.
Variations and Upgrades
Adjustable Heights
Use cross supports that can be moved:
- Pre-drill holes at multiple heights
- Use pegs or brackets
- Adjust as needs change
With Lighting
Add LED strip lights:
- $30 to $80
- Battery or wired
- Illuminates contents
With Lock
For valuable storage:
- Lockable cabinet doors
- Cable lock on shelf system
- Combination locks
Built-In Workbench
Combine with workbench:
- Lower shelf becomes workbench
- Tool storage above
- Integrated design
For workbench specifically, see our workbench organization guide.
Painting and Sealing
Optional but recommended:
Prime: Stops wood from absorbing paint Paint: Color of choice Seal: Polyurethane for protection Cost: $20 to $50 for materials Time: 1 to 2 days drying
Sealed shelves resist humidity damage and look more finished.
Cost Breakdown
Standard 8-foot, 5-shelf wall:
- 2x4 lumber (10 pieces): $60 to $80
- 3/4” plywood (5 sheets): $80 to $120
- Hardware (screws, etc.): $20 to $30
- Paint/seal (optional): $20 to $30
Total: $80 to $260 depending on quality
Tools Investment
If buying tools first time:
- Circular saw: $80 to $200
- Drill: $60 to $150
- Stud finder: $20 to $40
- Level: $20 to $40
- Measuring tape: $10 to $20
Tool total: $190 to $450
Tools last for multiple projects. Cost amortizes.
Time Investment
By project complexity:
- Simple wall (8 feet): 4 to 6 hours
- L-shape (corner): 6 to 8 hours
- Full system (U-shape): 8 to 12 hours
Plan one weekend for moderate projects.
Safety Considerations
DIY safety:
- Safety glasses always
- Hearing protection with circular saw
- Dust mask while cutting
- Proper ladder use
- Lock children out of workspace
- First aid nearby
Maintenance
Built shelves need basic care:
Annually: Tighten screws Bi-annually: Re-seal if used As needed: Repair any damage Forever: Should last decades with care
Key Takeaway
DIY garage shelving is one of the highest-impact home improvement projects. A weekend of work plus $80 to $200 in materials creates 100+ cubic feet of organized storage. Use 2x4 framing with 3/4 inch plywood. Anchor to studs always. Build to 24-inch depth for most items. Paint or seal for longevity. The result: garage transformation from chaos to functional storage in a single weekend. Most garages can fit 200 to 500 cubic feet of well-designed shelving along available walls. The compound benefit of having a place for everything justifies the time and material investment.
For complete garage organization, see our garage decluttering, garage zones, garage pegboard, and garage workshop setup guides.

Frequently Asked Questions
What is the best wood for garage shelving?
Best wood for garage shelving is 2x4 lumber for framing and 3/4 inch plywood for shelves. The 2x4 provides strength; plywood offers smooth surface for bins and items. Avoid pressure-treated wood inside (chemicals); use untreated lumber for interior garage shelving.
How much weight can garage shelves hold?
Well-built garage shelves with 2x4 framing and 3/4 inch plywood can hold 200 to 400 pounds per shelf when properly anchored to studs. Most household items weigh 5 to 30 pounds; this provides plenty of margin. For heavier items (tools, vehicles), increase support frequency.
How long does it take to build garage shelves?
Building garage shelves takes 4 to 8 hours for a complete wall of shelving, depending on length. A 12-foot wall of 5-shelf storage takes about 6 hours for one person. Materials cost: $80 to $200 for full setup. Premium options like metal shelving cost more but install faster.